Make An IKEA Catio — How To Turn An IKEA Shelf Into A Catio
A cat patio or "catio" is the newest cat craze that allows indoor kitties to enjoy the great outdoors safely.
 Trisha Sprouse
Fresh air, exercise, stimulation — these are all some of the wonderful benefits a catio has to offer. We have an amazing IKEA hack for you that turns a simple wood shelf into an awesome outdoor oasis for your kitty.
Things You'll Need:
Things You'll Need:
- Two Hejne shelves
- Two 1x3s
- Chicken wire or galvanized steel hardware cloth
- Staple gun
- Heavy-duty wire cutter
- Power drill
- Two door hinges
- Two door bolts
- Door knob
- Wood screws
- Siding screws
Note: The parts for the Hejne shelving unit are each sold separately, so be sure to grab both the posts and the shelves. For the two-shelf unit featured in this catio, you'll need six Hejne posts and seven Hejne shelves. If you want to create an even bigger catio, you could buy enough materials to assemble a three or four-shelf unit.
 Trisha Sprouse
Step 1
Step 1
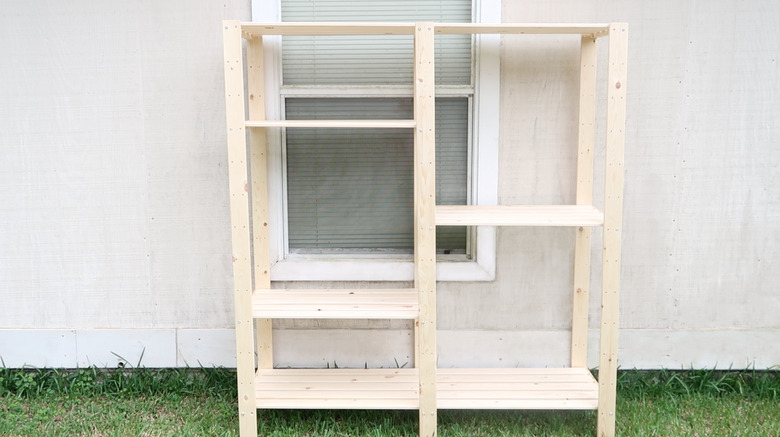
Assemble two IKEA Hejne shelves together. If you've assembled your fair share of IKEA furniture before, then you know this will involve a maddening amount of Allen wrenching. Hang in there; it's worth it.
You'll want to install two parallel shelves on the bottom and two parallel shelves on the top of the unit, but then stagger the heights of the middle shelves, so kitty can jump around the catio.
We recommend assembling the shelves in front of the window you plan on using for access, so you can install the middle shelves at a proper height that allows kitty to easily jump into the catio.
 Trisha Sprouse
Step 2
Step 2
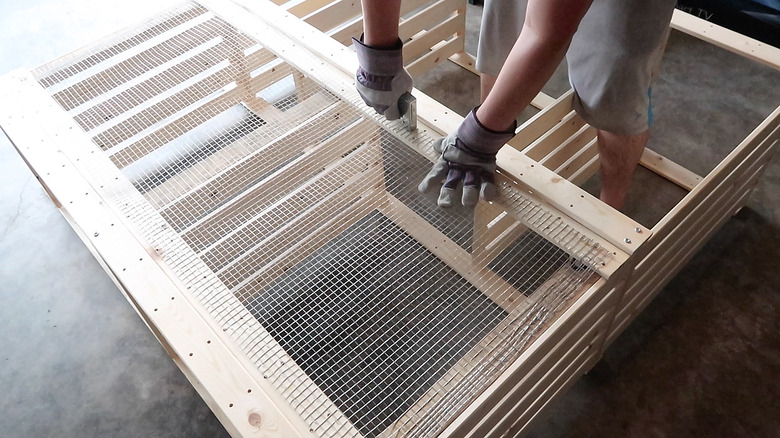
Staple chicken wire (or hardware cloth) to the front and sides of the shelves, pulling the chicken wire taut as you staple. Make sure you staple thoroughly through the wood to prevent kitty from escaping. Pay particularly close attention to the corners, reinforcing them with multiple staples. If you plan to install a door (which we recommend for emergency access), then just staple chicken wire to one side of the front and leave the other side open.
Tip: Use a heavy-duty wire cutter to cut off any sharp ends of the chicken wire so it doesn't cut any kitties from the inside, and also doesn't harm any curious stray kitties/critters from the outside.
 Trisha Sprouse
Step 3
Step 3
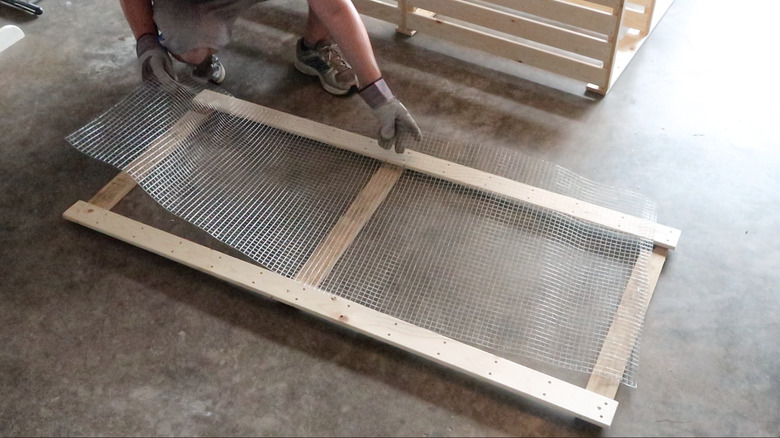
Build a basic door using 1x3s. You'll need two long pieces cut slightly shorter than the length of the Hejne posts and three short pieces cut slightly shorter than the width of the Hejne shelves. Assemble the door pieces and use wood screws to attach them together. Then cover the door with chicken wire and staple the wire tightly in place.
 Trisha Sprouse
Step 4
Step 4
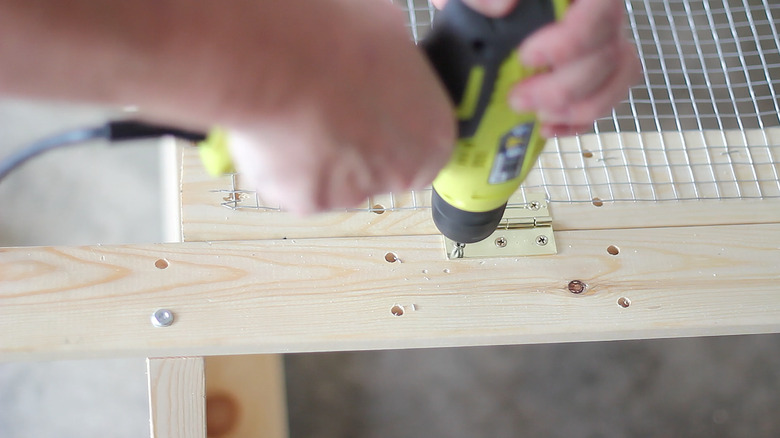
Attach the door to the front of the shelving unit (on the side you left open with no chicken wire) using a door hinge. On this unit, we installed one door hinge at the top of the door and one hinge at the bottom.
 Trisha Sprouse
Step 5
Step 5
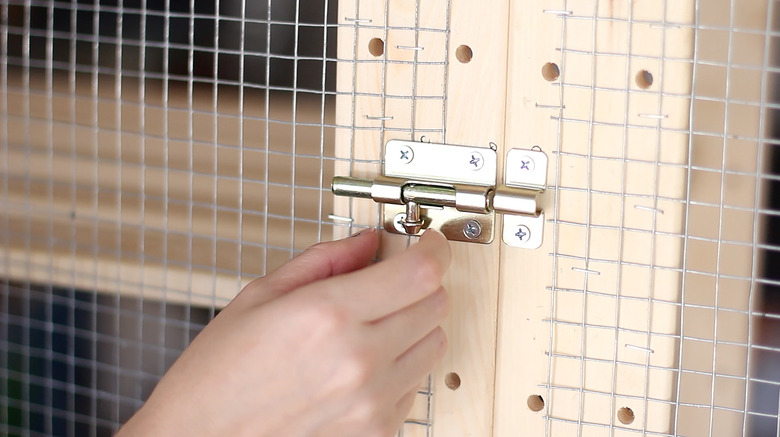
For extra security, install one door bolt at the top of the door and one door bolt at the bottom.
 Trisha Sprouse
Step 6
Step 6
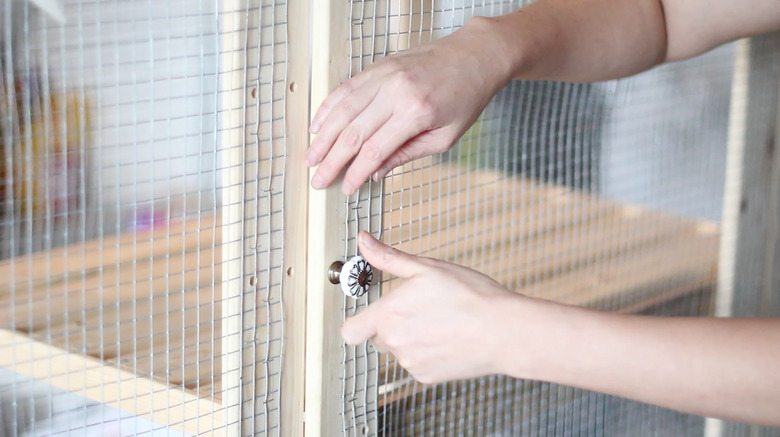
Install a door knob on the front of the door. Yep, you get major cuteness points if you install a pretty knob like this one.
 Trisha Sprouse
Step 7
Step 7
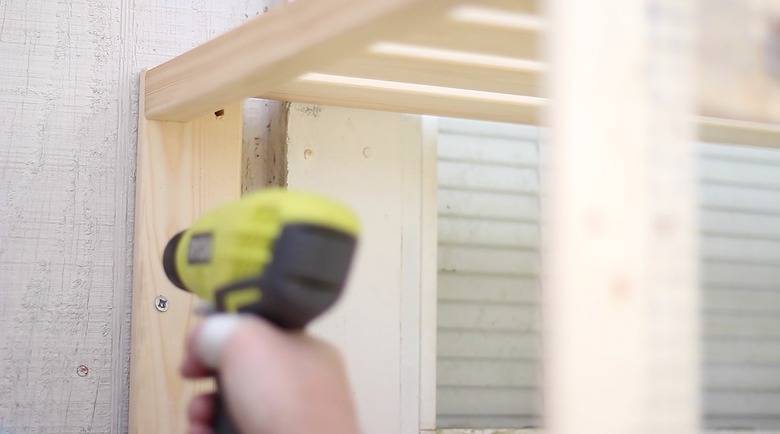
Position the catio in front of the window where kitty will enter/exit. Push the back posts flush against the side of the house and attach them to the side of the house using sturdy siding screws (read: not drywall screws). You'll want to attach the posts at the top, middle and bottom for extra security. Check thoroughly to make sure there are no gaps anywhere between the catio and the side of the house where kitty could escape.
Tip: If you prefer, you could install a cat door in your window that allows safe access to the catio, instead of opening/closing your window manually.
 Trisha Sprouse
 Trisha Sprouse
Step 8
Step 8
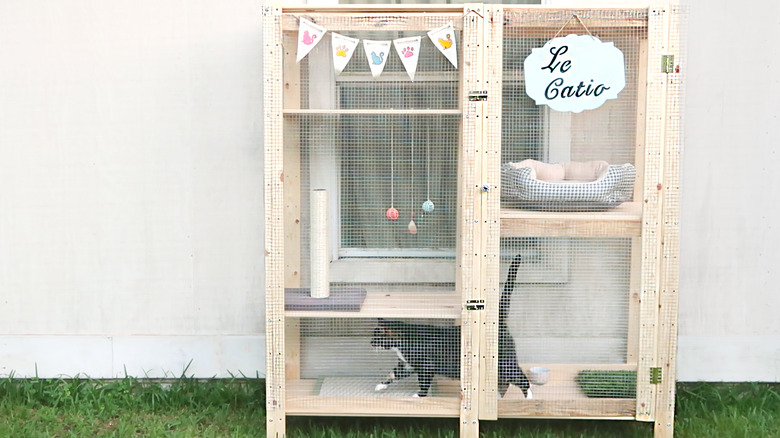
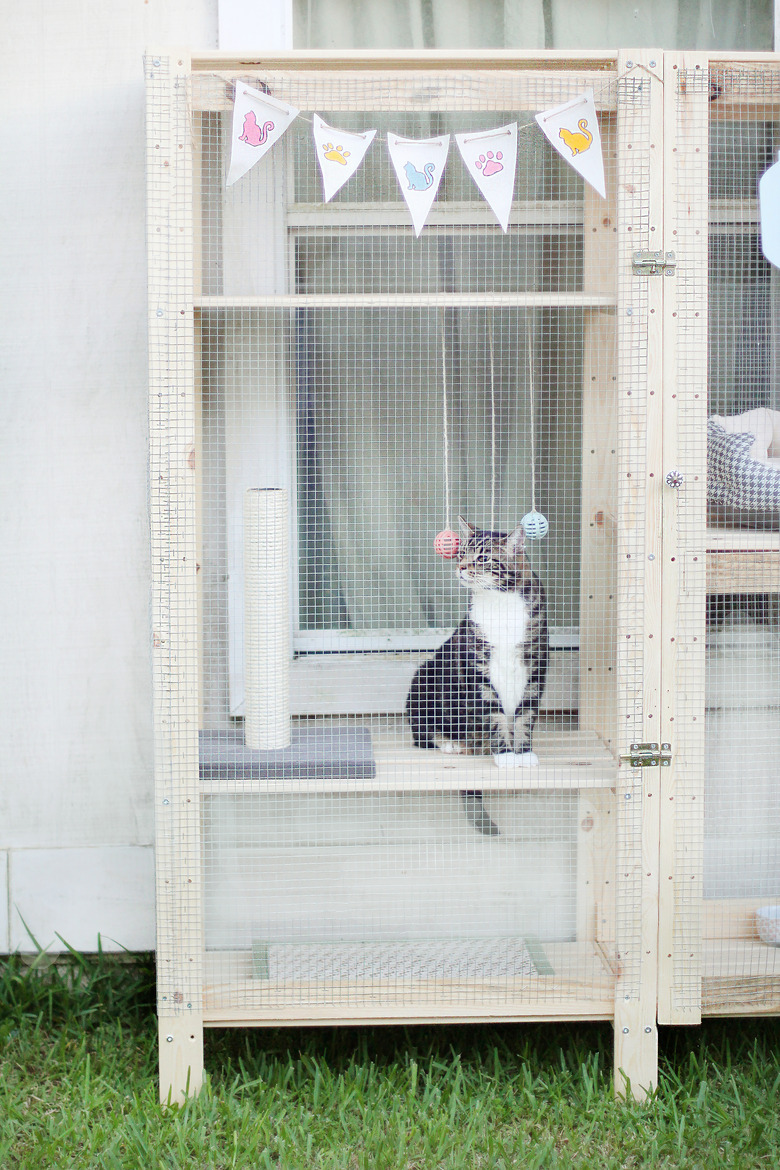
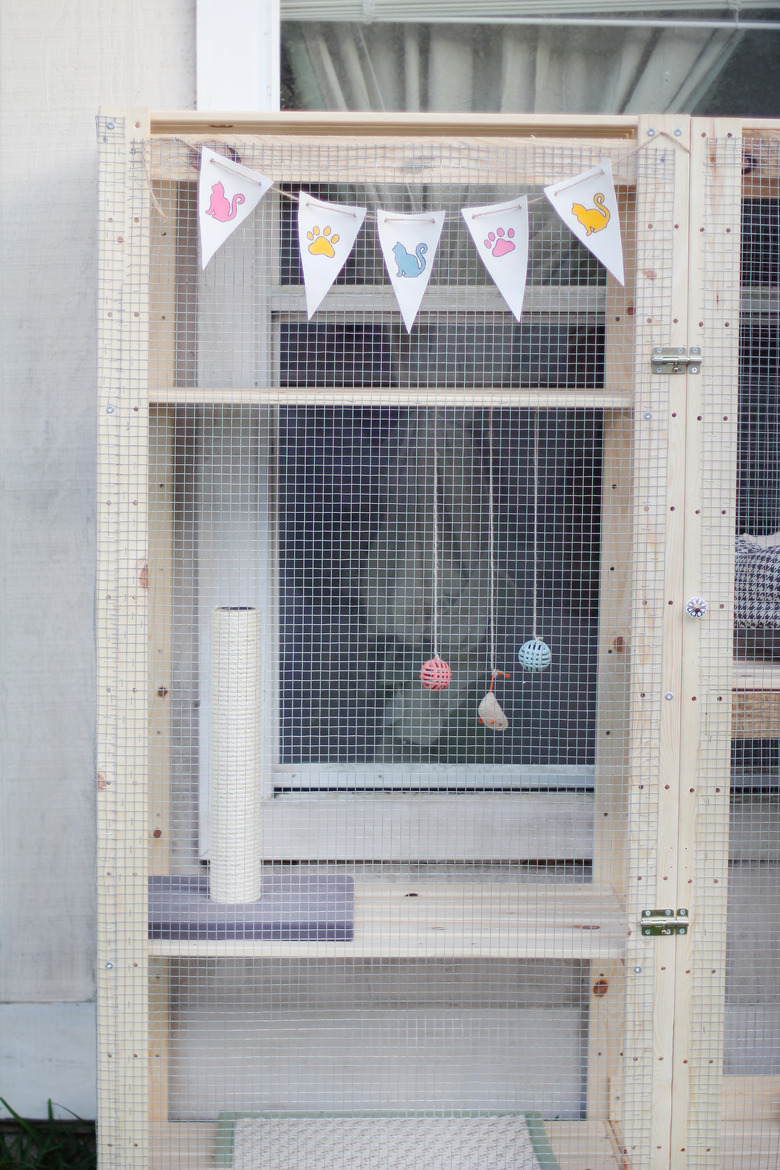
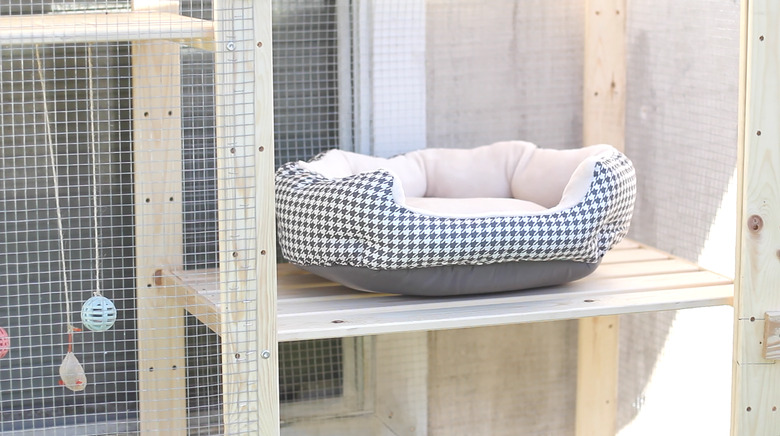
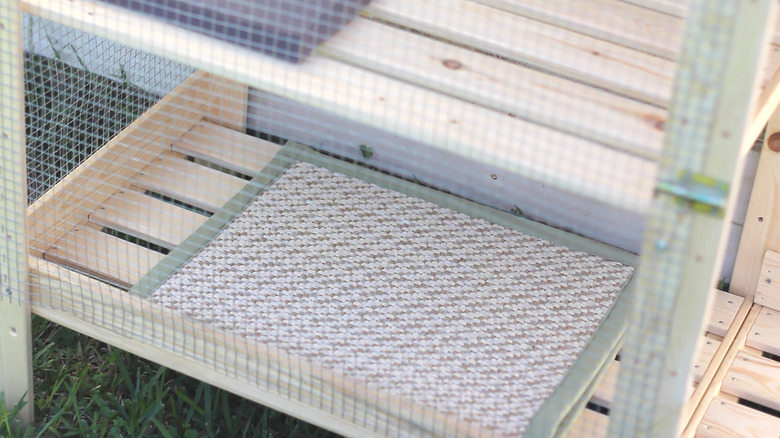
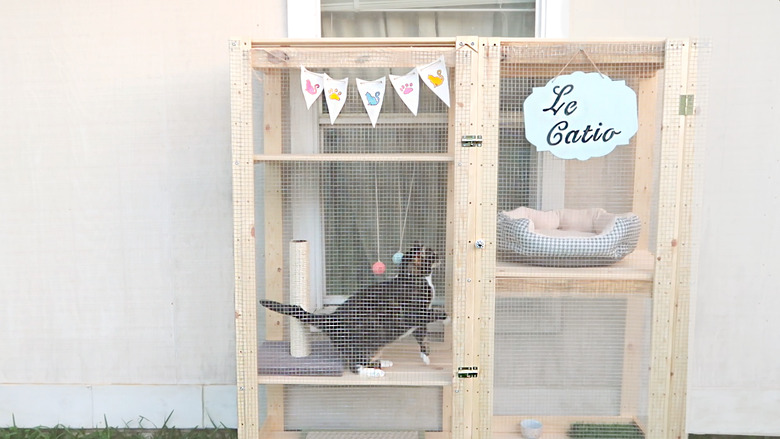
Furnish the catio with cozy items (hygge points!) and enticing toys. We added a fluffy pet bed, a cozy rug, a scratching post, a patch of faux grass, some hanging cat toys, and a water dish. And yes, we totally color-coordinated these items for maximum chicness.
 Trisha Sprouse
 Trisha Sprouse
Step 9
Step 9
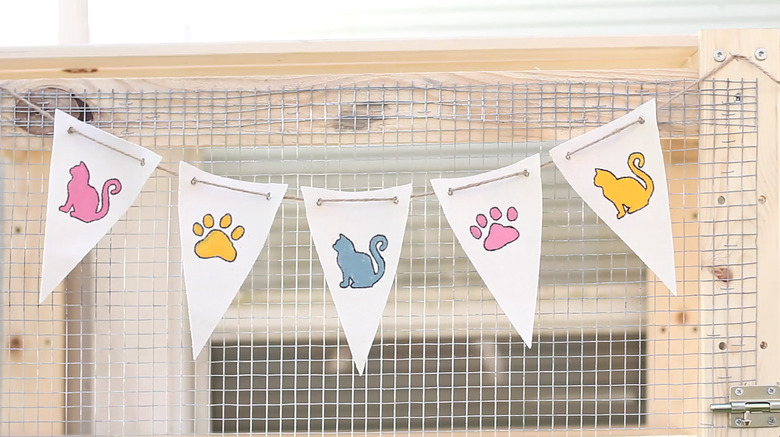
Of course, no catio is complete without some colorful bunting flags and a fun sign! We stenciled cat silhouettes and paw prints onto canvas bunting flags. And we painted a simple wood sign a soft robin's egg blue color and stenciled fancy lettering onto it.
 Trisha Sprouse
 Trisha Sprouse
Now open up that window and let kitty explore her new hangout. Good luck getting her to come back inside for dinner, though!
 Trisha Sprouse
Are you interested in other exciting DIY projects for your pets? Then scroll through this article about how to make an epic DIY cat castle out of cardboard boxes. Also, like us on Facebook and join our newsletter to learn more about your pet's behavior.