How To Make An Epic DIY Cat Castle Out Of Cardboard Boxes
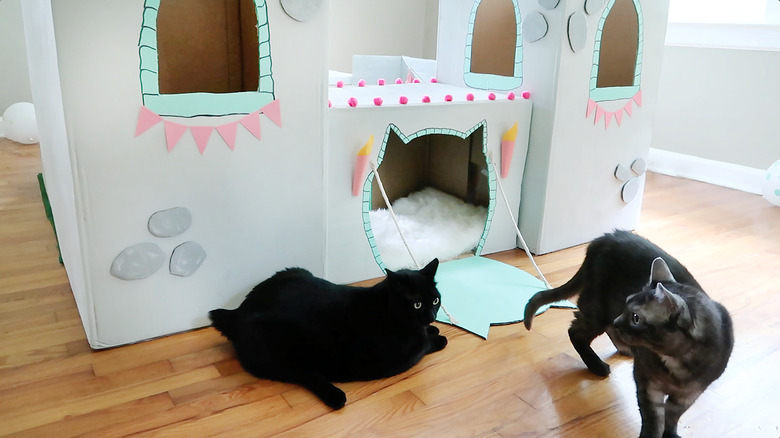
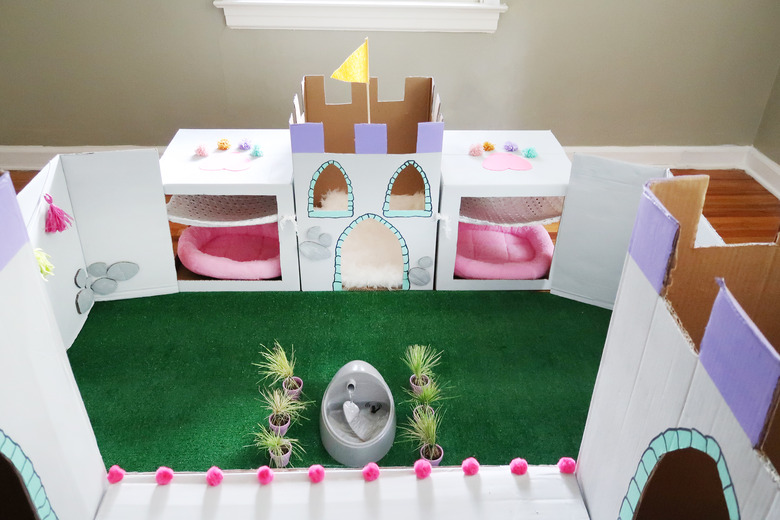
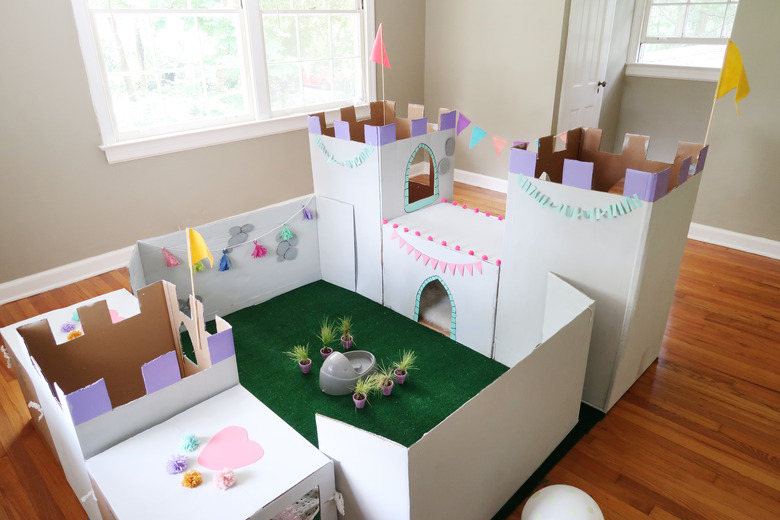
If you're going to build a cardboard castle for your cat, you might as well make it an epic one. We made ours extra royal with a festive drawbridge, twin towers, grass courtyard, water feature, and fortress walls. Our kitties have been playing king and queen ever since!
Things You'll Need
Things You'll Need
- 5 large tall boxes
- 2 medium square boxes
- Box cutter
- Duct tape
- Scissors
- Acrylic craft paint (non-toxic)
- Paintbrush and roller
- Black permanent marker
- Hot glue gun
- 3 wooden dowels
- Felt
- Twine
- Hot glue
- Synthetic grass
- Kitty drinking fountain
- Small plant pots
- Live cat grass
- Pom-poms, bunting flags, garland (optional)
Step 1: Make the Towers
Step 1: Make the Towers
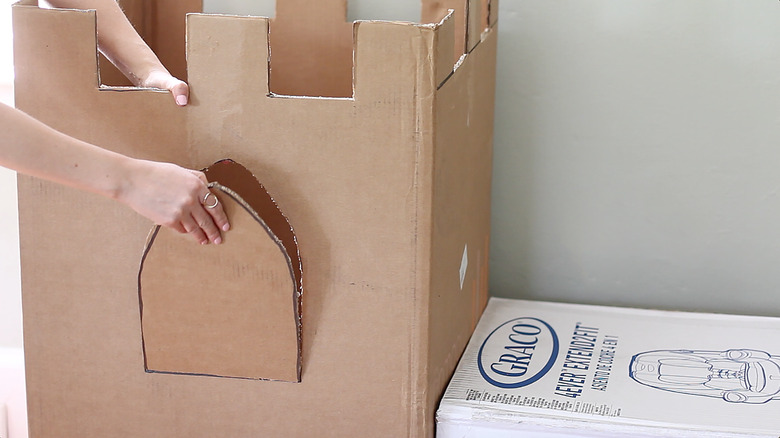
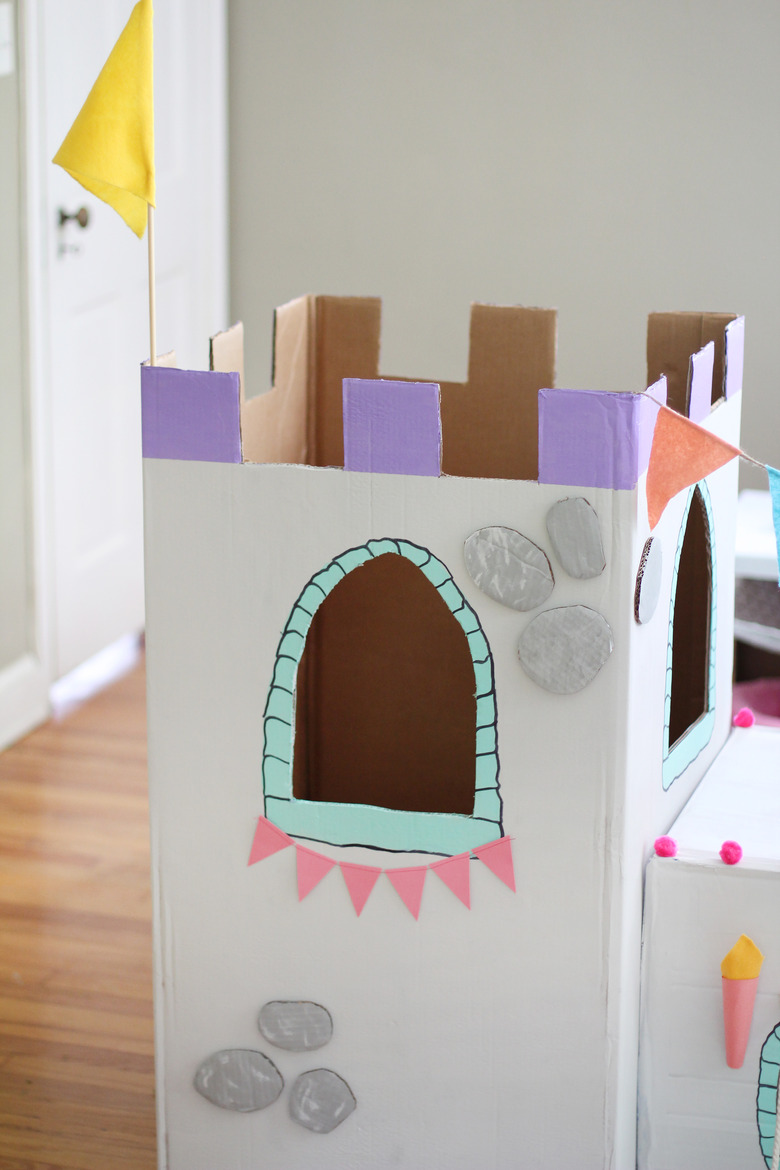
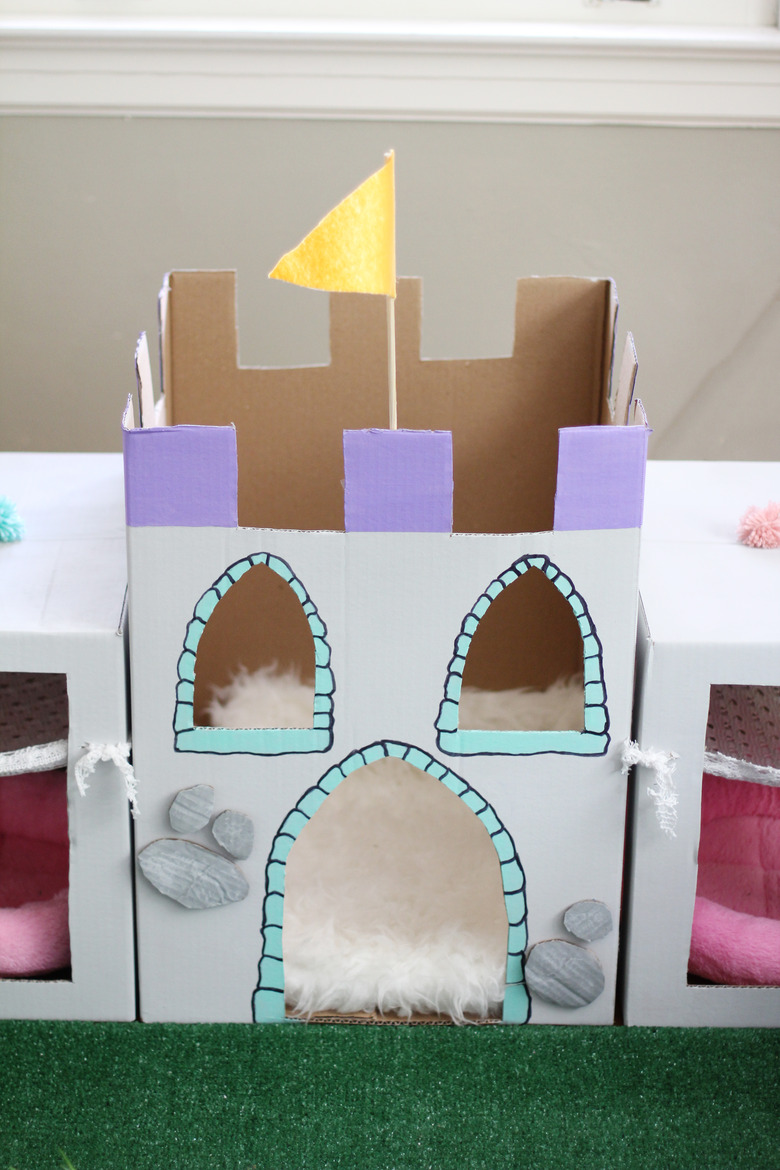
Assemble two of the tall boxes and tape the bottoms shut. Cut off the top flaps from both boxes. Then cut out battlements around the tops of the boxes and window arches on the front and sides of the two towers.
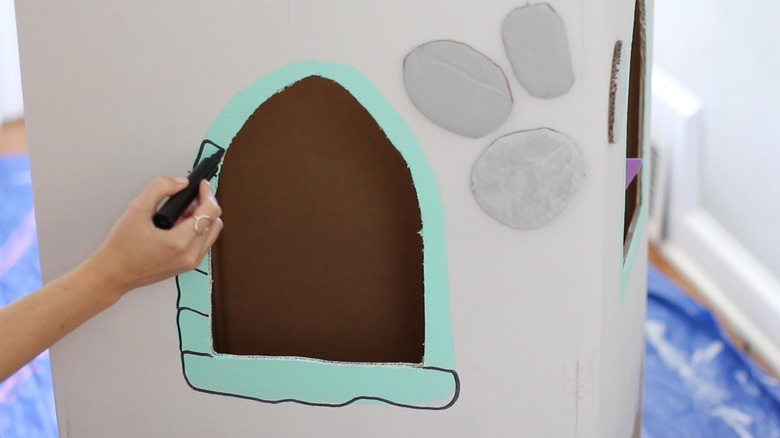
Paint the towers a light gray color and opt for a festive trim color for the battlements.
Paint a colorful trim around the window arches. Once the paint is dry, draw a faux window ledge and stones around each window using a black permanent marker.
Use the leftover scrap cardboard from the flaps to cut out faux stone shapes and paint them a dark gray. Sponge some lighter gray on top to add texture, and glue clusters of them to the front and sides of the towers.
Make a flag for each tower by cutting a triangle out of felt and gluing it to a small wooden dowel. Tape a flag inside each tower.
Step 2: Make the Drawbridge
Step 2: Make the Drawbridge
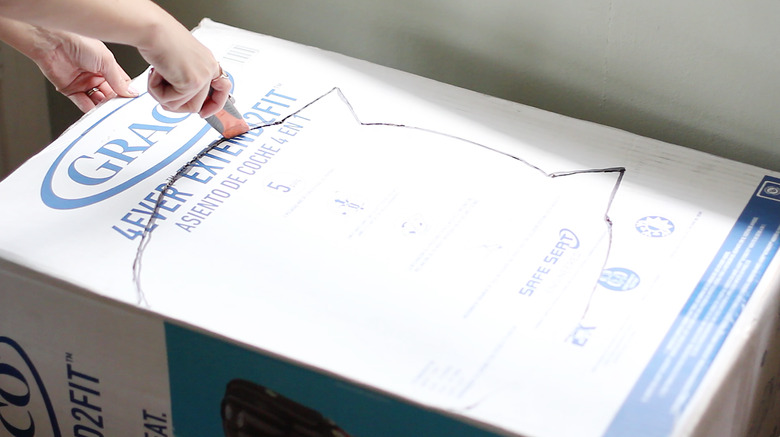
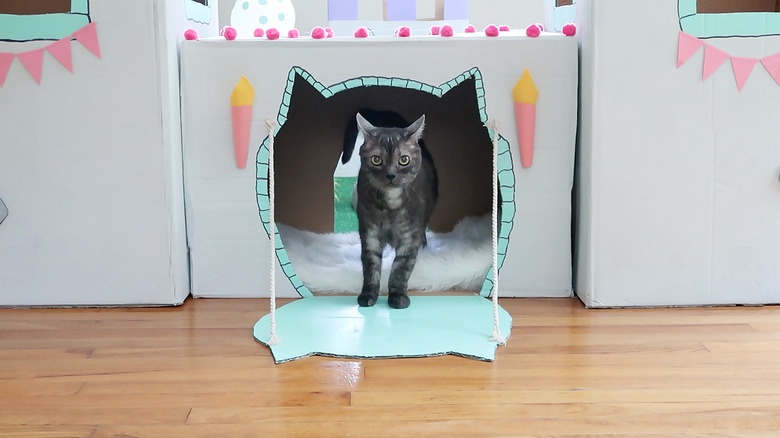
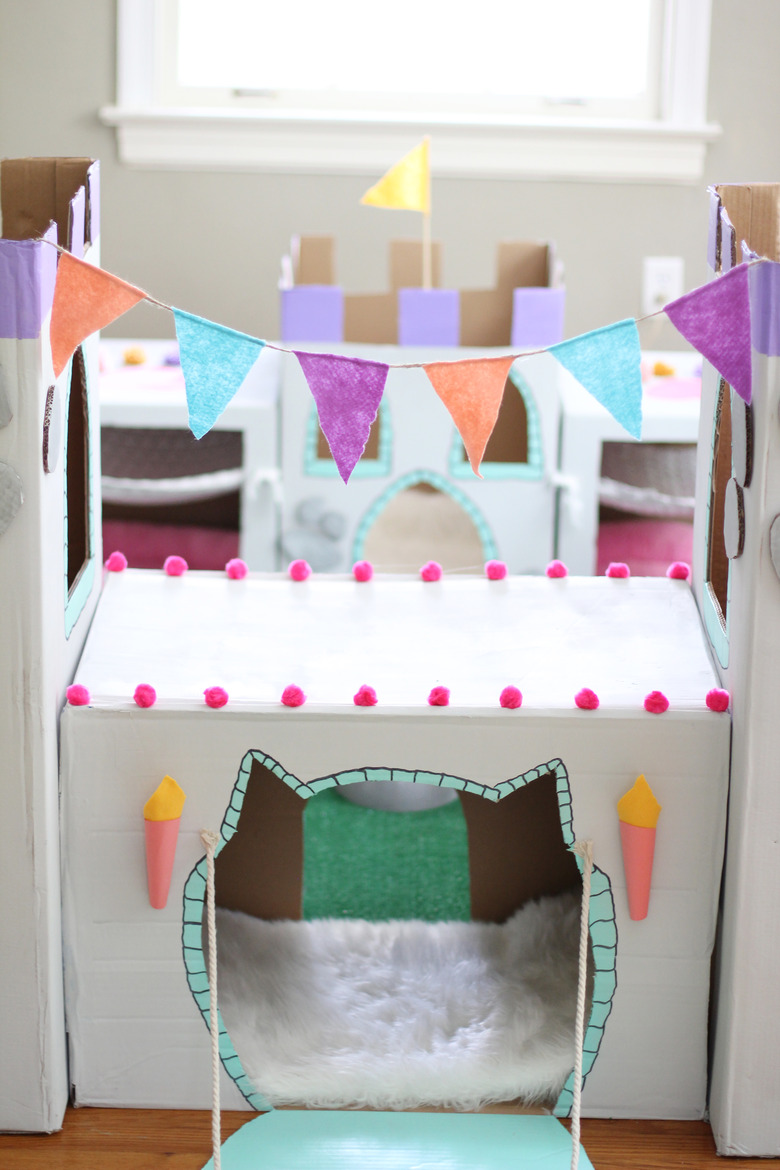
Turn a tall box on its side and tape the top and bottom shut. Draw a cat face shape on the center of the box and cut it out. Make sure you don't cut off the bottom of the cat shape, as that will be the bridge that opens and closes.
Paint the bridge on both sides and then paint a matching trim around the cat shape on the box. Draw faux stones on the trim once the paint has dried. Then hot glue a piece of rope/twine to each side of the bridge and also to each side of the cat shape opening on the box to act as railings.
Create torches by rolling cardstock into sconce shapes, fill them with yellow felt, and hang one on each side of the drawbridge.
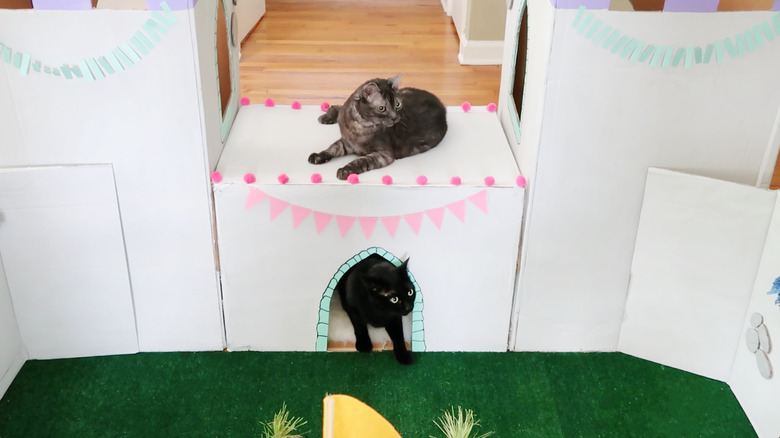
On the back side of the drawbridge, cut an arched doorway and paint faux stone trim around it.
Step 3: Make the House
Step 3: Make the House
Tape the bottom shut on a tall box and cut off the top flaps. Cut out battlements around the top, two window arches for the top floor and an arched door for the bottom floor. Paint the same color treatment as the towers. Tuck a blanket or faux sheepskin rug inside and tape a flag inside the center of the box.
Step 4: Make the Hammocks
Step 4: Make the Hammocks
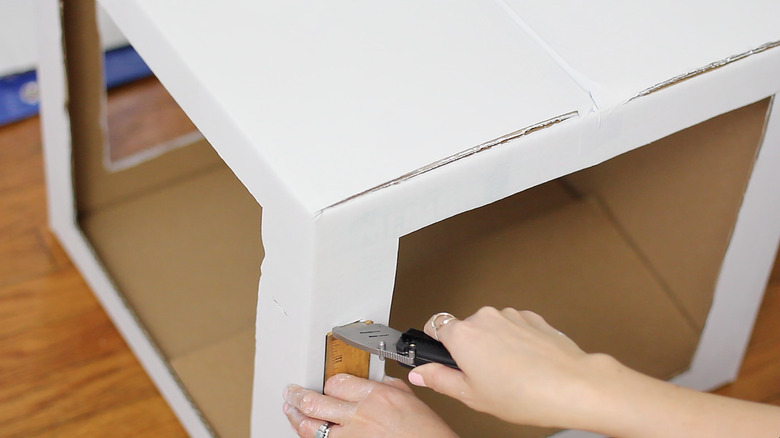
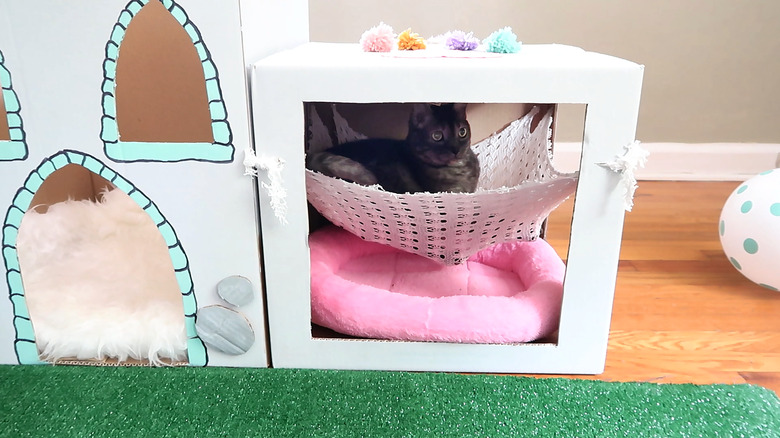
Assemble two medium boxes and tape them both shut on top and bottom. Cut out matching square holes on all four sides of each box. Then paint the boxes. Once dry, cut a slit in all corners of the box, about 2/3 of the way up.
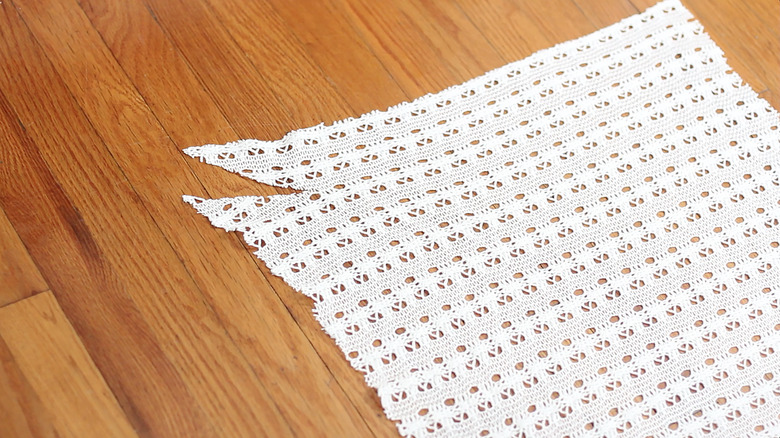
Cut a piece of fabric to the same dimensions as the bottom of your box except add 4 inches to all sides. Then cut a 3-inch diagonal slit in each corner of the fabric.
Pull the fabric through the slits in each corner and tie a knot in all corners. Tuck blankets or pet beds underneath each hammock.
Step 5: Make the Courtyard
Step 5: Make the Courtyard
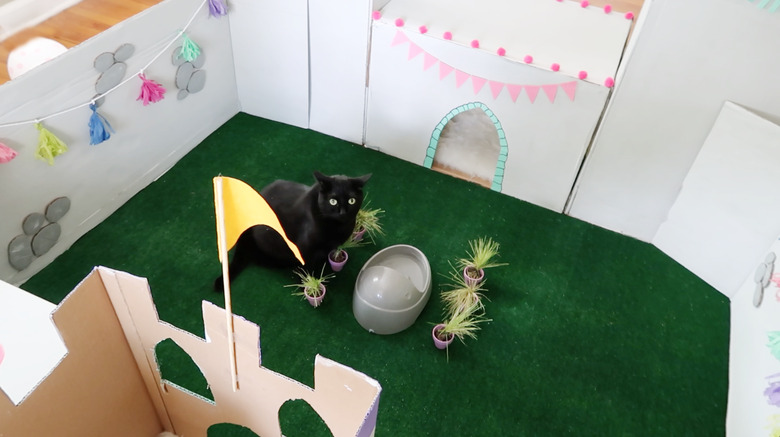
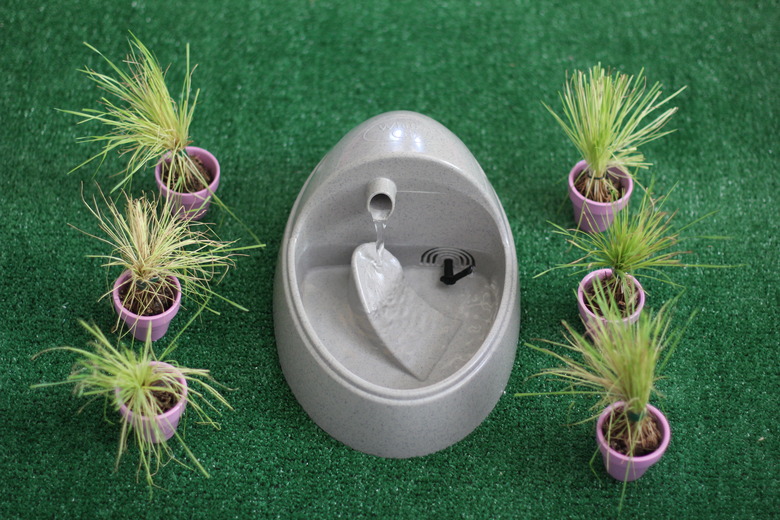
Roll out synthetic grass in the area behind the towers/drawbridge. Mark the center and set a kitty water fountain there. Cut a slit in the grass directly under the fountain and feed the power cord through it. Set three little plant pots filled with cat grass on each side of the fountain.
Step 6: Make the Fortress Walls
Step 6: Make the Fortress Walls
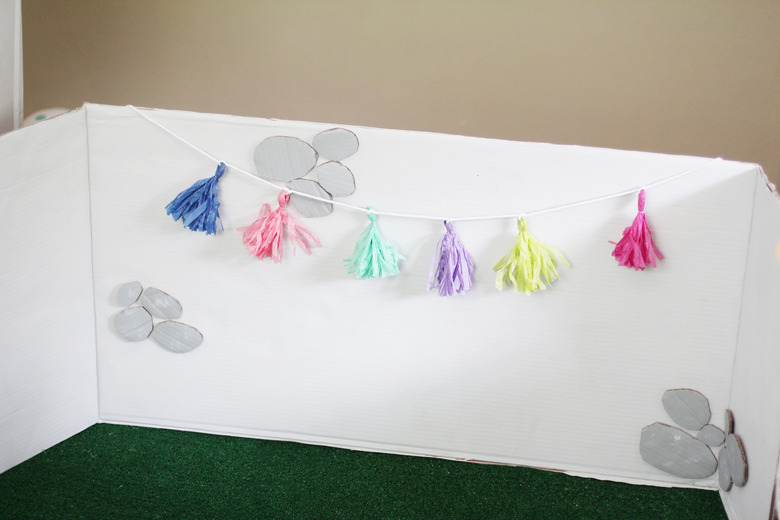
Cut off two of the long sides of a tall box and paint them gray. Once dry, glue some faux stones to them. Set the wall panels around the courtyard.
Step 7: Add Some Cuteness
Step 7: Add Some Cuteness
Colorful details make all the difference, in our humble opinion. So get that glue gun back out and attach some pom-poms along the top of the drawbridge. Also, hang some bunting flags between the towers.
Hang colorful tassel garland along the fortress walls.
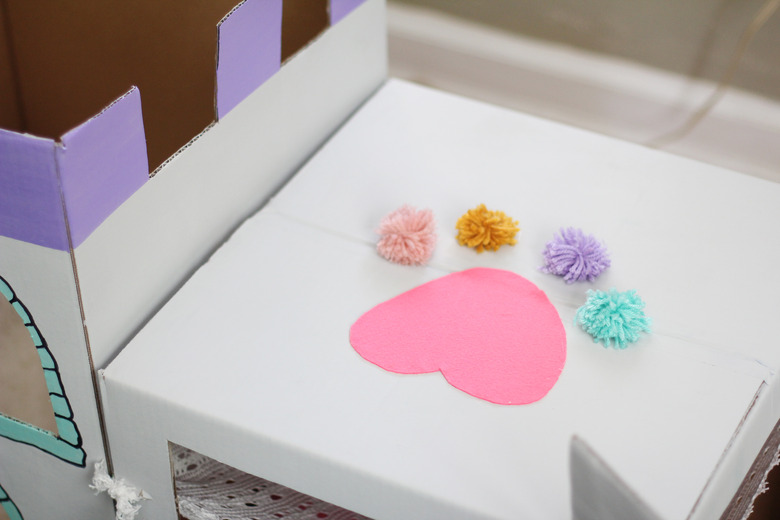
Create a paw print on top of the hammocks using felt and pom-poms.
Do you love pet DIY projects? Awesome! Check out our tutorial on how to make a vintage kitty camper out of cardboard boxes, and then like us on Facebook for more how-to guides and join our newsletter for maximum cuteness. You're about to take your DIY game to the next level. Congratulations!
