Turn Old Boxes Into An Adorable Cat House
There is something magnetic about empty boxes that cats just can't resist. But who wants to look at a stack of boxes? Instead, transform them into a chic cat house that you can humble brag about on Instagram (hashtag not included).
 Trisha Sprouse
Things You'll Need
Things You'll Need
- 2 medium-sized boxes
- Box cutter
- Utility knife
- Painter's tape
- Measuring tape
- Acrylic paint
- Paintbrush and/or paint roller
- Cardstock
- Scissors
- Hot glue
- Paper straw
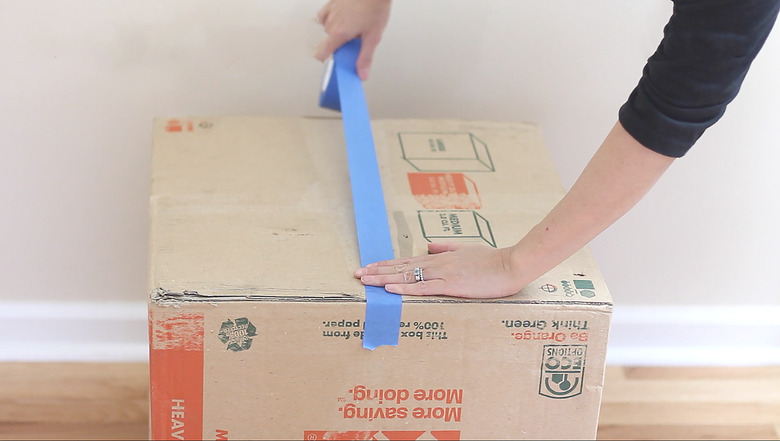
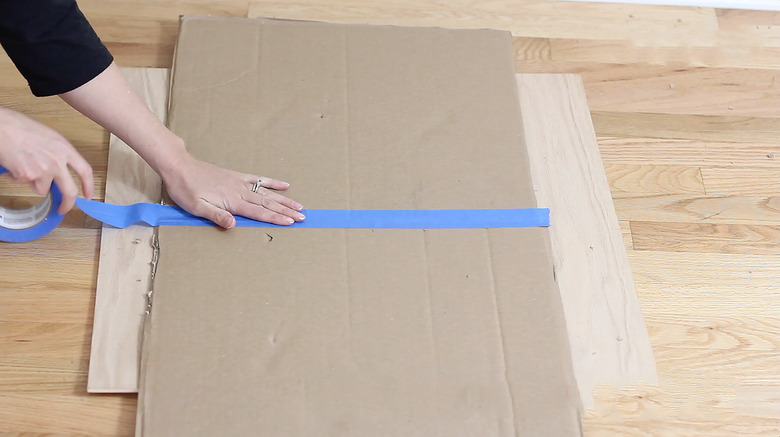
Step 1: Tape Bottom Box
Step 1: Tape Bottom Box
On the first box, tape the bottom shut with painter's tape. You may be questioning my prowess as a crafter here and wondering why I didn't use duct tape or packing tape. Well, painter's tape is easier to paint. Boom! Martha status intact.
 Trisha Sprouse
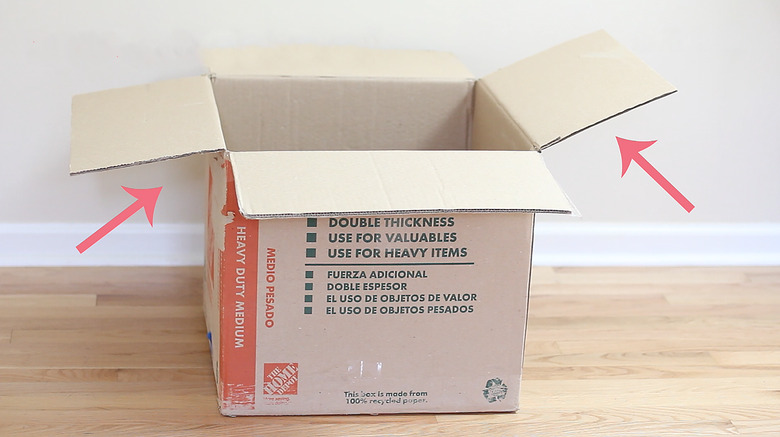
Step 2: Cut Off Side Flaps
Step 2: Cut Off Side Flaps
Turn the box back upright. Use a box cutter to cut off two of the side flaps. I suppose you could use scissors, but then why the heck did the world invent box cutters?
 Trisha Sprouse
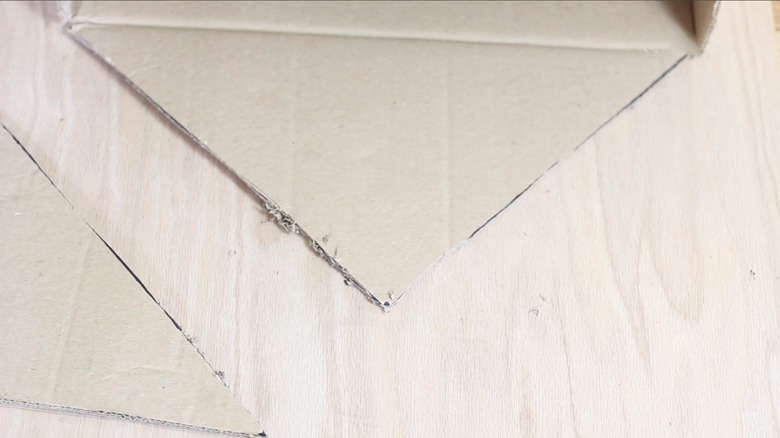
Step 3: Create Triangular Points
Step 3: Create Triangular Points
Brace yourself– a little math is required here. You need to cut the two remaining flaps into triangular points. If I can do it, then you can do it! Use a tape measure to find the center of the flap. Draw a line from the center point to each corner of the flap. Use the box cutter to cut along the lines.
 Trisha Sprouse
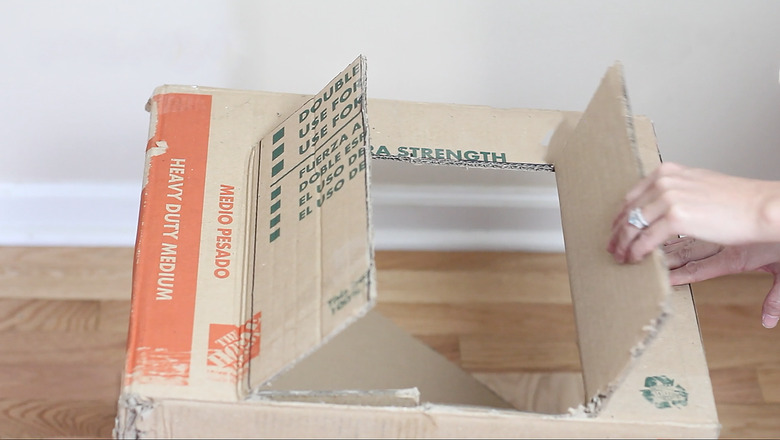
Step 4: Make a Door
Step 4: Make a Door
Draw a rectangle onto the front of the house. You could eyeball it if you'd like. But if you're a perfectionist (like me), you'll use the measuring tape to center it on the front of the house. Cut along the top, bottom, and down the center of the rectangle, and then open the flaps.
 Trisha Sprouse
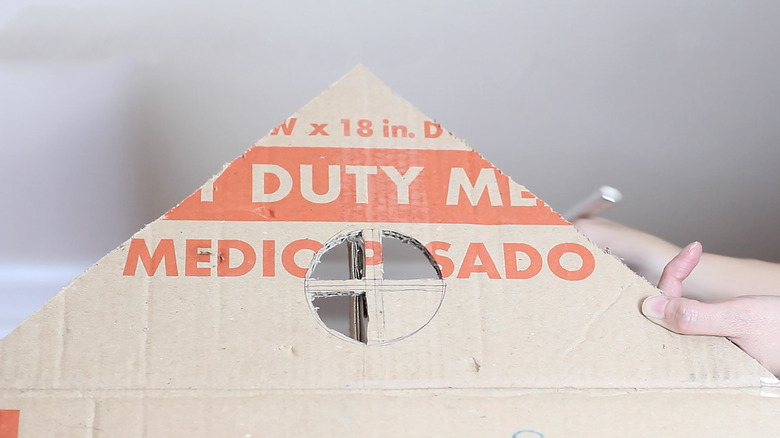
Step 5: Make the Windows
Step 5: Make the Windows
Use a wine glass to trace a circle onto the triangular flap above the door. I'm sorry. Did I say wine glass? I meant water glass. There was no day drinking involved in the making of this project. Now divide the circle into four quadrants and use a utility knife to cut out four equal pie shapes from it.
 Trisha Sprouse
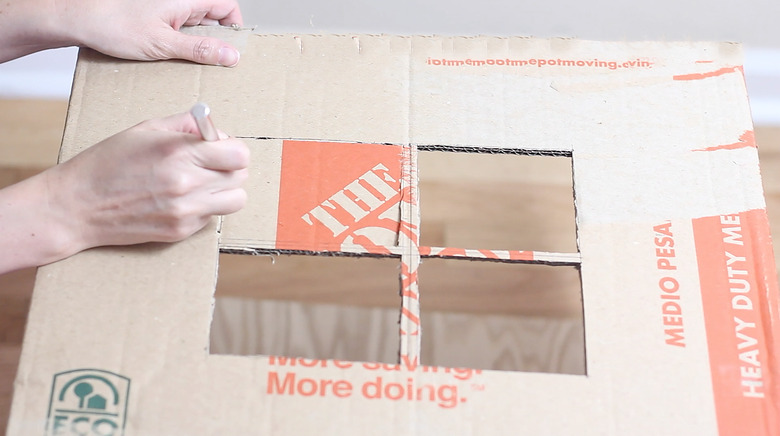
Draw a square on the side of the house, divide it into fourths, and use the utility knife to cut out four equal quadrants, leaving a cross shape intact in the center.
 Trisha Sprouse
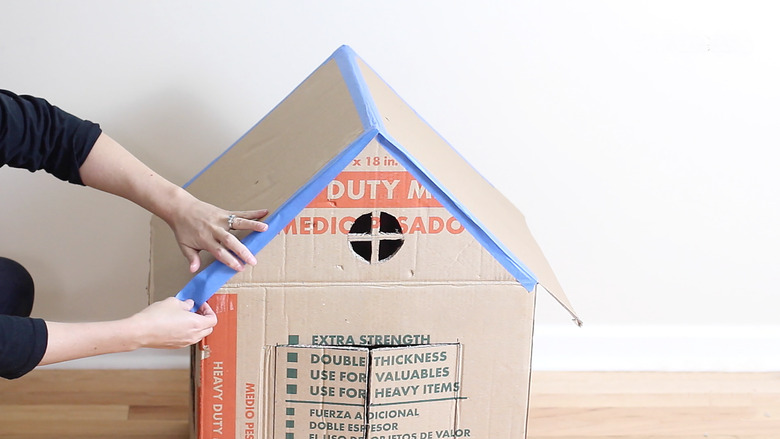
Step 6: Make the Roof
Step 6: Make the Roof
On the second box, cut off two walls and tape them together. Then tape them to the top of the house. Breathe a sigh of relief. The construction part of this project is over.
 Trisha Sprouse
 Trisha Sprouse
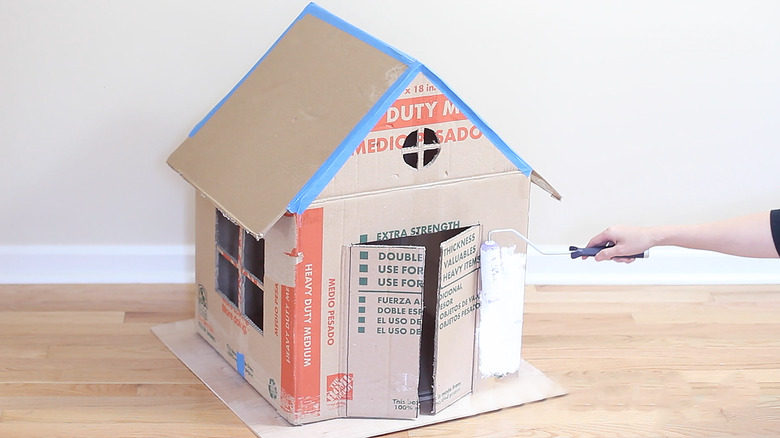
Step 7: Paint the House
Step 7: Paint the House
Save yourself some sanity and use a paint roller to paint the main part of the house. It goes on much more smoothly and quickly this way. It'll take a few coats of paint, especially if your box has anything printed on it. Use a paintbrush for the door so you can be more precise with the corners and edges.
 Trisha Sprouse
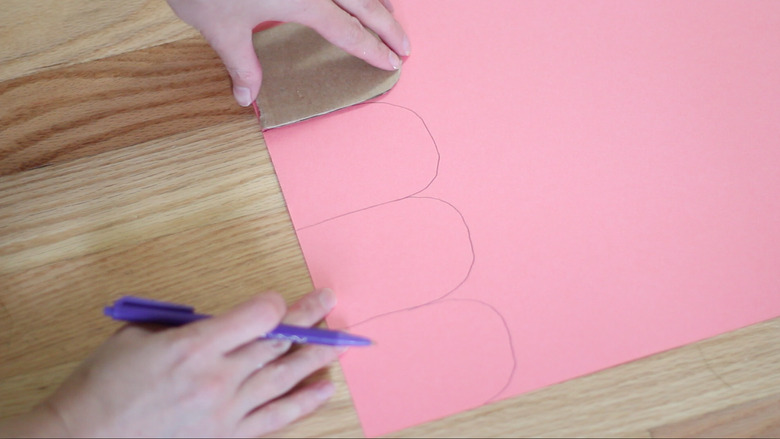
Step 8: Shingle the Roof
Step 8: Shingle the Roof
While the paint is drying, create a rounded roof shingle template from scrap cardboard. Use it to draw/cut out roof shingles from cardstock. Yes, you will hate me after this step is over. It takes an inordinate amount of time to cut these darn things out.
 Trisha Sprouse
And for the love of God, buy more cardstock than you think you need, or risk falling short by eight roof shingles (eight!) and having to run back out to the craft store mid-project. Hot glue the shingles to the roof in rows starting from the bottom. Overlap each row slightly.
 Trisha Sprouse
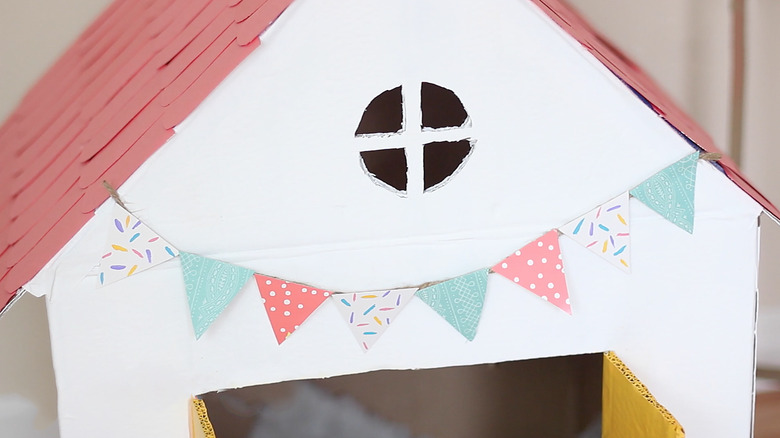
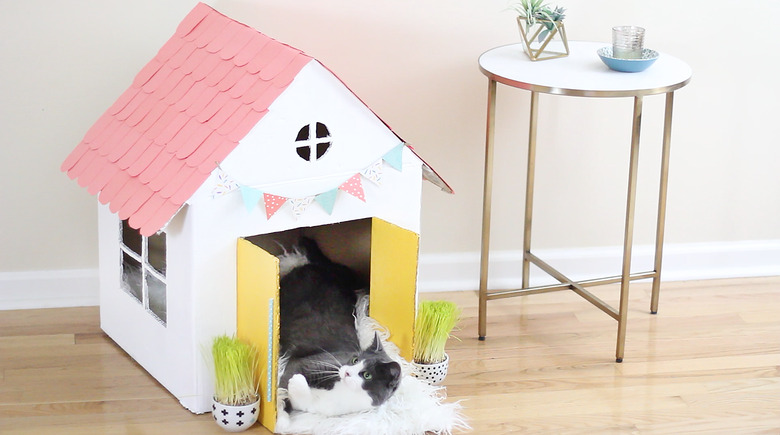
Step 9: Add Some Flair
Step 9: Add Some Flair
You didn't go to all this trouble building a cat house to leave it plain. Add some festive details. I hung color bunting flags in the front, hot-glued polka dot straws as door handles and put a faux sheepskin rug inside. Little dishes of kitty grass flanking the doorway mimic mini planters.
 Trisha Sprouse
Now sprinkle a bit of catnip inside and proudly watch as kitty explores her new digs. Don't take it personally if she rips off a roof shingle in a fit of catnip-induced rage.
 Trisha Sprouse