How To Make A Vintage Kitty Camper Out Of Cardboard Boxes
If you have a cat, then you know all too well the feeling of defeat when you drop some serious dough on fancy cat toys only to watch kitty strut right by them to play with an old box instead. Solution? Turn that box into a super cute vintage kitty camper. I guarantee it'll turn your sad cat emoji frown upside down.
 Trisha Sprouse
Things You'll Need
Things You'll Need
- 2 large cardboard boxes
- Box cutter
- Scissors
- Poster board
- Painter's tape
- Marker
- Acrylic paint
- Paintbrush
- Paint roller
- Hot glue gun
- Cardstock
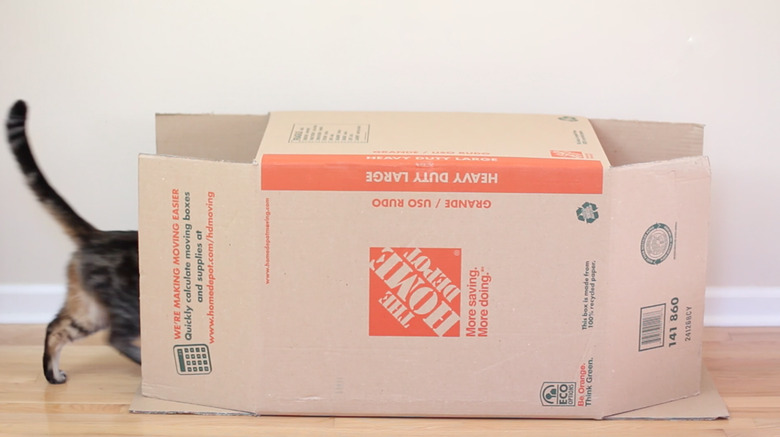
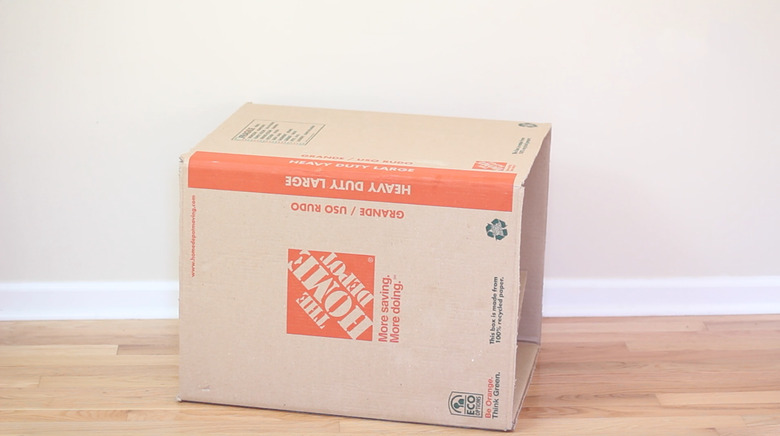
Step 1: Remove flaps from box
Step 1: Remove flaps from box
Use a box cutter to remove all of the flaps from the first box.
 Trisha Sprouse
 Trisha Sprouse
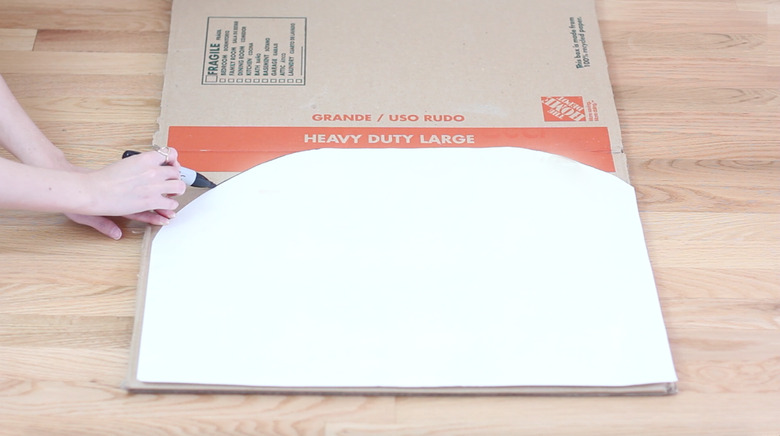
Step 2: Make a template
Step 2: Make a template
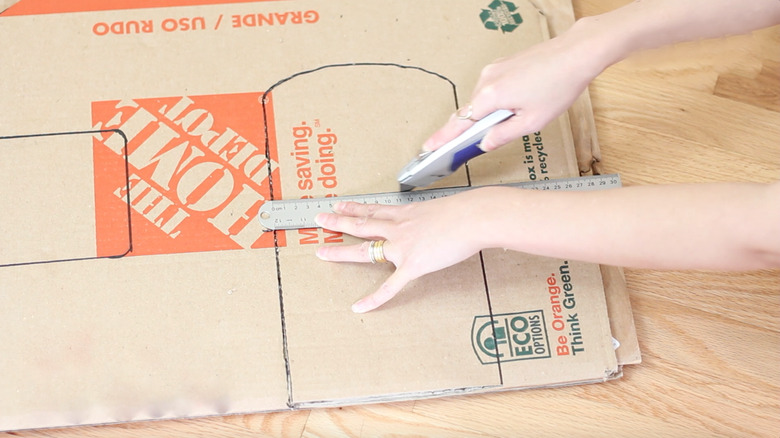
Draw the shape of the camper on a piece of poster board that's roughly the same size as the box and cut it out. Lay the box flat and trace the template onto one side of the box.
 Trisha Sprouse
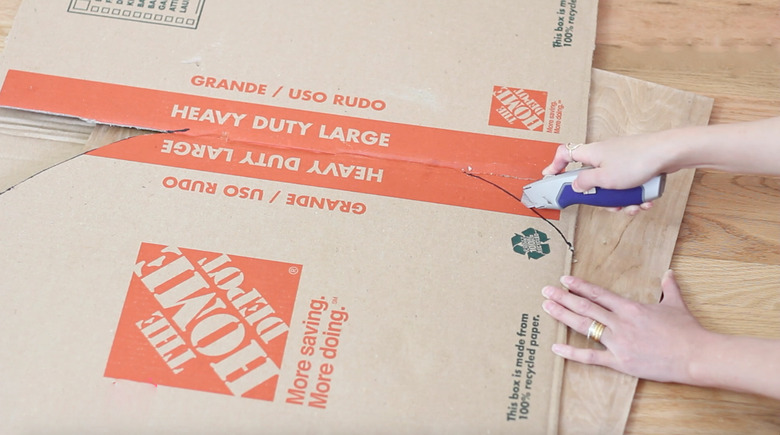
Step 3: Cut along template lines
Step 3: Cut along template lines
Place a sheet of plywood or scrap board inside the flattened box so you don't cut all the way through both sides of the box. Cut along the template lines with a box cutter.
Flip the box over and trace/cut the template on the other side. Be sure to reverse the template on the other side. Again, use a protective sheet of plywood inside the box to prevent cutting through both sides.
 Trisha Sprouse
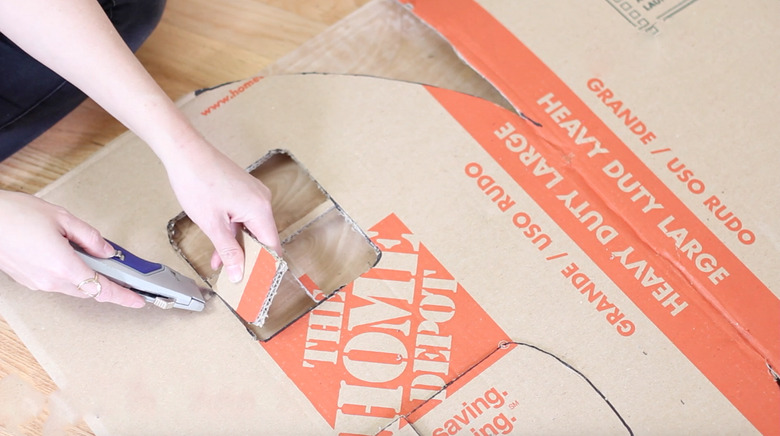
Step 4: Make a door
Step 4: Make a door
Draw a door on one side of the box. A curved arch and a Dutch door (cut in half so the top and bottom halves can open and shut separately) really pumps up that vintage feel. Be sure to leave one of the long sides of the door uncut, so it stays attached to the box.
 Trisha Sprouse
Step 5: Make a window
Step 5: Make a window
Cut out a window with curves edges — leave a cross shape intact in the middle to act as the window pane.
 Trisha Sprouse
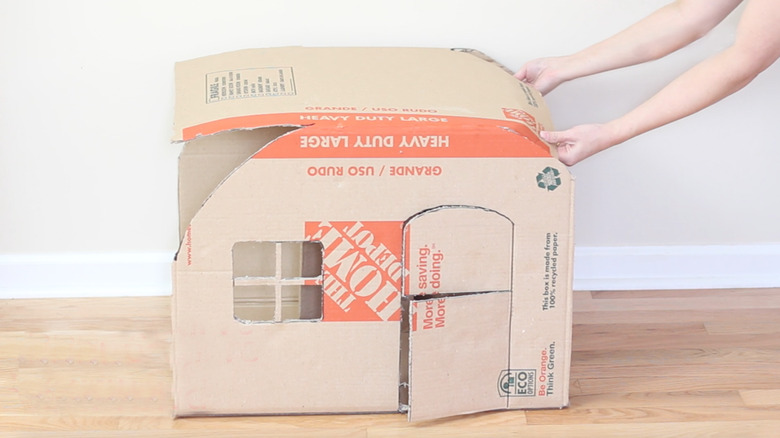
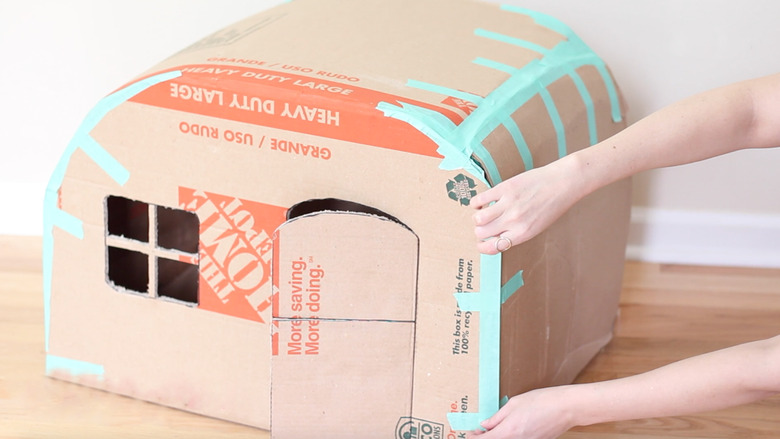
Step 6: Bend roof into curved shape
Step 6: Bend roof into curved shape
Bend the roof into a curved shape and tape it in place.
 Trisha Sprouse
 Trisha Sprouse
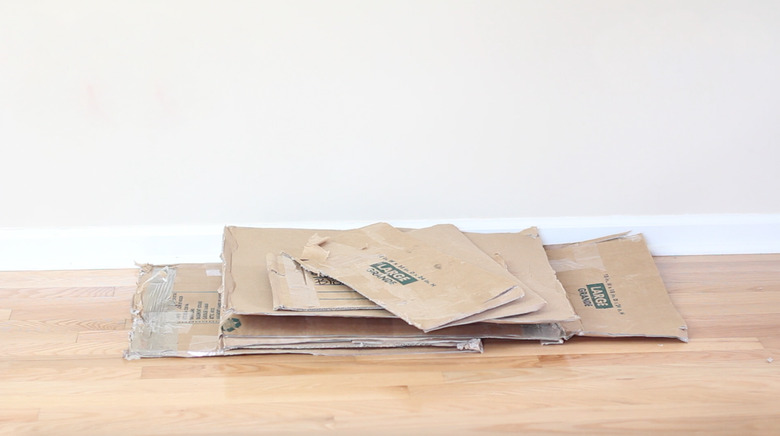
Step 7: Break down second box
Step 7: Break down second box
Break down the second box into large scraps of cardboard.
 Trisha Sprouse
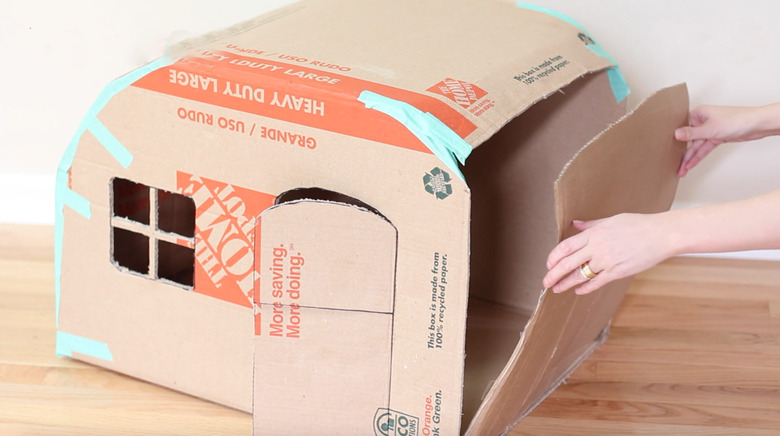
Step 8: Insert scraps for camper walls
Step 8: Insert scraps for camper walls
Insert a piece of cardboard scrap into the empty side of the camper to create a wall. Be sure to bend/shape the cardboard to maintain the curved shape. Tape it in place. Repeat on the other side of the camper.
 Trisha Sprouse
 Trisha Sprouse
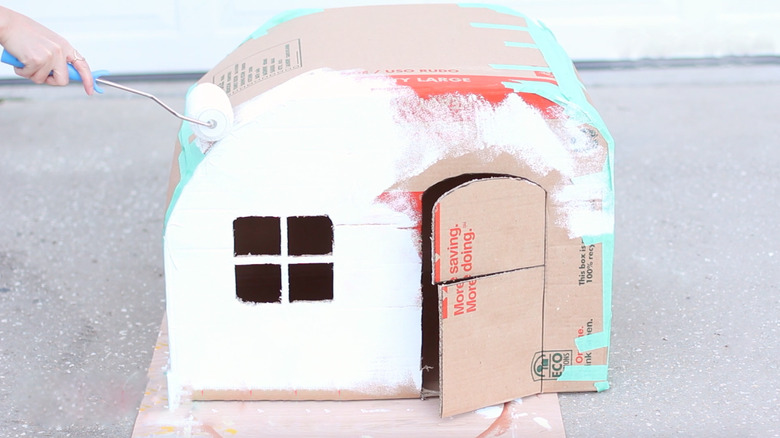
Step 9: Paint the camper
Step 9: Paint the camper
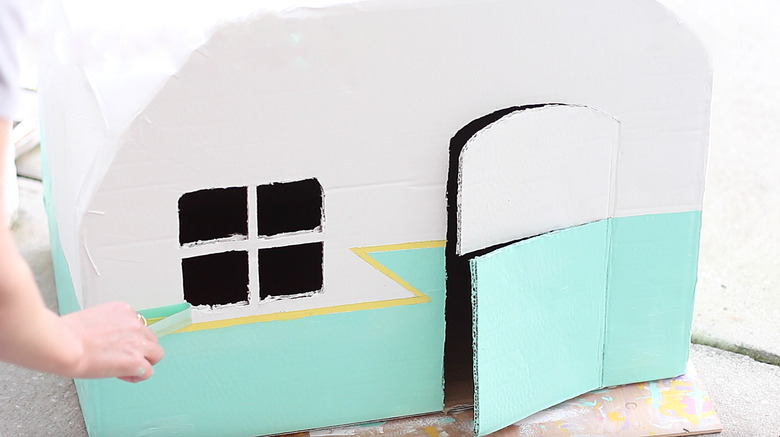
Use a paint roller to camp the entire camper a solid color. Then use a paint brush to add any colorful details. I painted the bottom half a minty blue and added a yellow lighting bolt design for extra vintage charm.
 Trisha Sprouse
 Trisha Sprouse
Tip: Use painter's tape to get a clean, crisp line if you choose to paint the bottom a second color and add the lighting bolt detail.
Step 10: Add finishing touches
Step 10: Add finishing touches
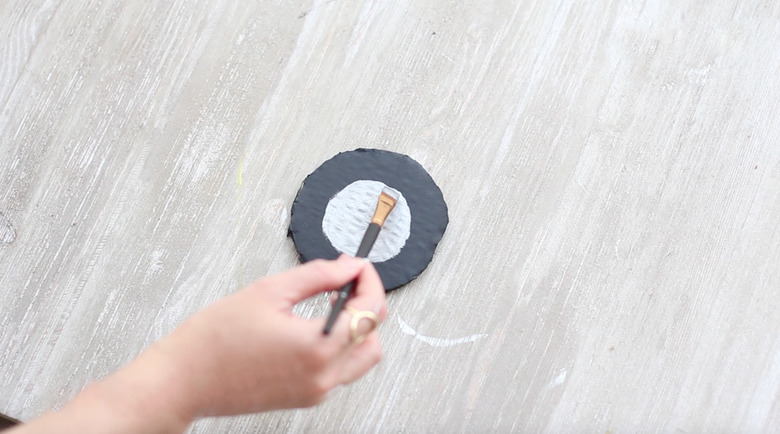
For the wheel: trace a mug or cup onto scrap cardboard, cut out and paint black. Paint a smaller silver circle in the middle for a hubcap. Hot glue on the camper in between the window and door.
 Trisha Sprouse
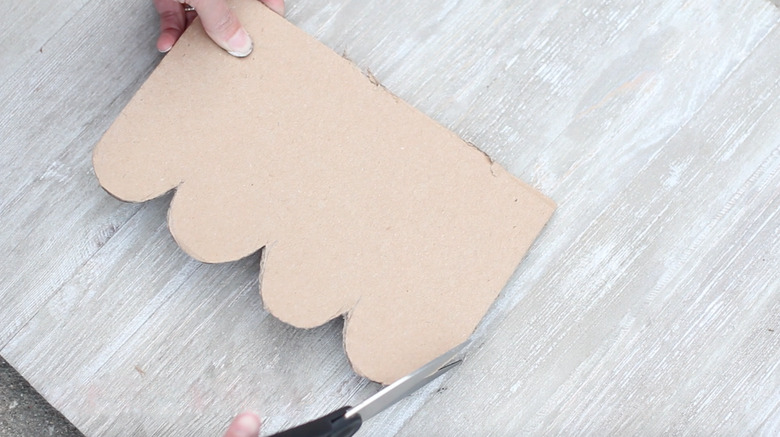
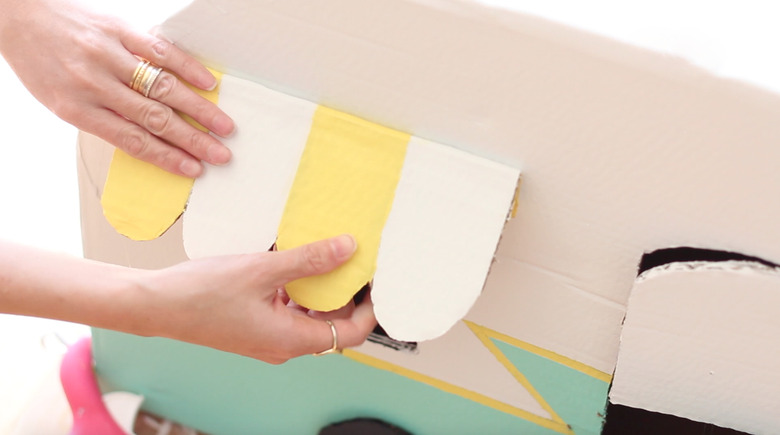
For the awning: trace a rectangle onto scrap cardboard and then trace a scalloped edge on one of the long sides of the rectangle. Cut out and paint stripes in alternating colors. When dry, fold the top third of the awning back and use it as a flap to attach it to the camper. Hot glue it above the window.
 Trisha Sprouse
 Trisha Sprouse
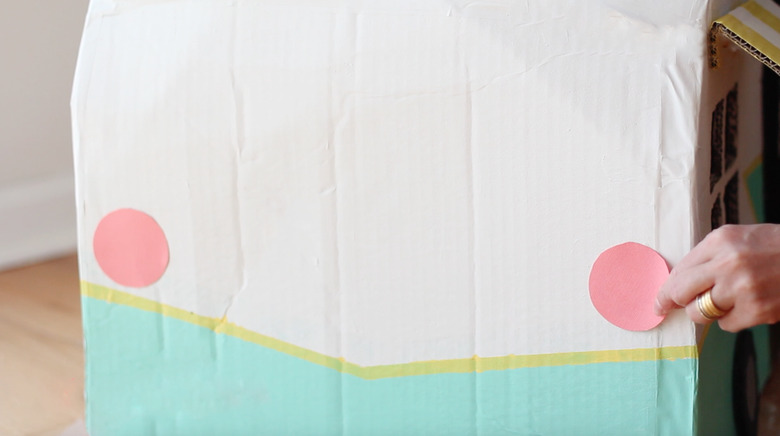
For the tail lights: trace a mug or cup onto pink or red cardstock and cut out two circles. Hot glue onto the back of the camper.
 Trisha Sprouse
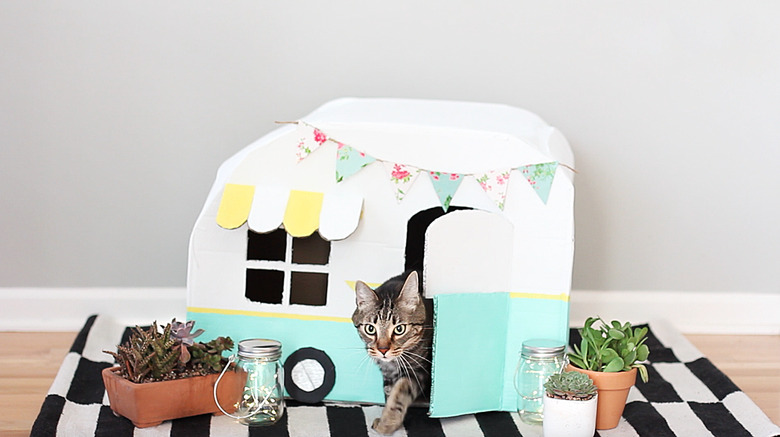
Lend some glamping charm to your camper by adding bunting flags, an area rug, some plants and little mason jar lanterns. Let kitty run free and get your camera ready for some serious cuteness!
 Trisha Sprouse
Post photos of your own kitty campers in the comments below!