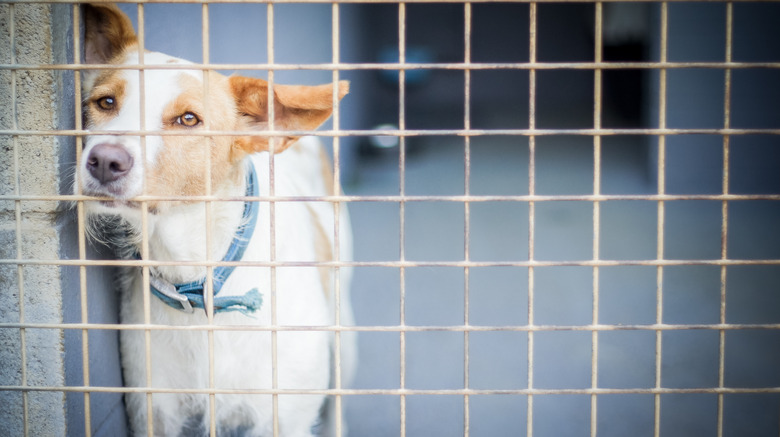
How To Build My Own Wire Dog Cage
During your time as a pet parent, you might need a second or temporary crate or cage for your dog. While you can put together your own DIY metal dog crate, there are so many things that can go wrong or be dangerous for your pet that you'll need to be careful how you make the cage. Using the right materials and following a few careful steps, you can build your own wire dog cage that's both comfortable and safe for your pet.
Think about your needs
Think
about your needs
Find the right size crate for your dog. A dog cage should be big enough that the pet can stand and turn around and lie down and sleep, all comfortably. If you limit the cage to that size, the dog won't want to pee or defecate in the cage, because it would then have to lie in that mess. If you make the cage larger, the dog will be able to go to one side of the cage, relieve itself, then go back to the other side. This can create an unhealthy habitat.
Next, decide if you need to move the cage often, including taking it in and out of a car. If so, you'll have to make a cage that doesn't fall apart when you move it.
Think about safety and sanitation
Think
about safety and sanitation
Make sure your DIY dog cage doesn't hurt your pet. The flooring should be comfortable — your dog should not have to sit and lie on a wire floor. In the event that your dog pees in the cage, a wooden or cloth floor will absorb the urine and you'll have bacteria problems.
Think about using a soft plastic bottom or a wood panel that's covered with a plastic material. Whatever you use for the bottom of your cage, you should be able to clean it. You will also need to make sure your cage is sturdy and doesn't collapse while your dog is inside.
Buy your materials
Buy your
materials
After you've considered the size of your cage and your dog's safety and health needs, look for your materials. You should be able to buy wire panels to build the cage by looking online. Look for rust-proof materials and those that can't be chewed.
Buy your flooring material and any items you want to cover the top or sides if you plan on covering the cage. If this will be a permanent cage, you might attach it to a wall, either inside your house or outside. Look for screws, rather than nails, to attach the cage to a wall. Screws won't pull out of the wall as easily if your dog pushes against the cage.
Your biggest challenge will be securing the sides to each other. You need fasteners that will keep the sides, top, and bottom together, but your dog should not be able to chew them and they should not be sharp and dig into your dog if he leans against them. Look for clips or sturdy plastic ties, such as the one used to make this DIY wire dog crate. When you're looking at panels, try to find ones that either come with fasteners or have ones you can buy.
Think about the door
Think
about the door
If you can't buy wire panels with an open-and-close door, you'll have to make one. This might mean cutting a hole in one of the wire panels and covering any sharp edges with tape or a rubber strip. Use clips to create the hinges for the door and a secure fastener to keep the door shut when the dog is inside.
Assemble the cage
Assemble
the cage
You can start with the bottom because all four sides will have to attach to it. If you're using a wood bottom, you can use an industrial staple gun to attach the bottom of the wire panels to the side of the wooden panel. Once you have two attached, fasten them to each other. Repeat the process until you have all four sides done, then add your top.
Alternately, you can build the four sides, then drop them onto your bottom and attach the four walls, finishing with the top. Rub your hands along each clip, clasp, screw, or other items you use to attach wire panels to each other to make sure there are no sharp edges.
Push the cage and rock it gently side to side and back and forth to see how sturdy it is. Your dog may be moving up against the walls and you'll want to see if your cage will hold together


