How To Build Quail Pens
Things Needed
-
Shovel or post hole digger
-
Quick-set concrete
-
Tape measure
-
Level
-
Screwdriver
-
Galvanized, 4-inch screws
-
Drill
-
1.25-inch bolts with nuts
-
Wire fasteners
-
Staple gun
-
Heavy-duty staples
-
4-inch PVC pipe
-
1-inch PVC pipe
-
1.25-inch PVC pipe
-
Metal pipe, 1 3/8
-
2-by-4 wooden boards
-
1-by-2 wooden boards
-
Gate hinges
-
Gate latch
Tip
If your pen doesn't have natural shade, cover part of the enclosure with nursery fabric, sold at your local garden supply store.
 Bryan Eastham/iStock/Getty Images
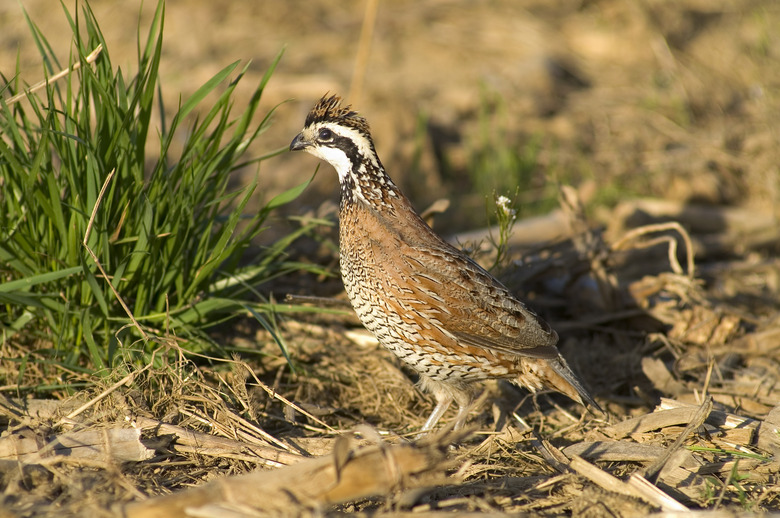
Your quail pen needs to provide adequate shelter and good protection from predators. Choose an area that sits higher than the surrounding ground with good drainage and does not allow rain water to pool. If possible, place your quail pen in an area that receives shade during the hottest part of the day. Build a pen with a raised floor, which provides protection from predators and allows droppings to fall away, reducing the chances for disease and parasites.
Building the Raised Floor
Step 1
Lay out your quail pen. Allow 1 to 1.5 square feet of space per bird. For example, if you have 50 quail, your pen will need to be between 500 and 750 square feet. A 500-square-foot enclosure would measure 10-by-50 feet.
Step 2
Dig footings for your floor supports at 4-foot intervals, down each side and across the middle. Insert 5-foot-long sections of 4-inch PVC pipe into the holes, placing 2 feet of pipe in the ground and leaving 3 feet of pipe exposed. Fill footing holes with quick-set concrete. Use your level to ensure the PVC pipes are plumb on all sides. Allow to dry overnight.
Step 3
Insert 4-foot sections of 1 3/8-inch metal pipe into the PVC footers along the sides of the pen, with 2 feet of metal pipe exposed above ground. The metal pipes should sit off-center, allowing enough room on the outside for the 2-by-4 floor framework to sit on top of the PVC pipes. Use a short piece of board to check the positioning of the metal pipes. Fill the PVC pipe with quick-set concrete and allow to set overnight.
Step 4
Build the floor framework on top of the PVC support pipes, using 2-by-4 boards and galvanized, 4-inch screws. Place the boards on their sides, so that the 2-inch sides are on top and the 4-inch sides face out. Floor board junctions in the middle of the pen should align with PVC supports.
Step 5
Cover the floor with 0.5-by-0.5-inch welded wire, attaching to the floor support boards with heavy-duty staples.
Topping it Off
Step 1
Slide one 20-foot section of 1.25-inch, schedule 40 PVC pipe over one of the metal poles on the right side of the enclosure. Match it up with the metal pole on the opposite side of the enclosure, and slide the other end over that pole, creating an arch. Continue down the entire length of the pen. Drill through and bolt into place.
Step 2
On one end of the pen, frame out a door opening using 2-by-4 boards. Screw the boards to the wooden floor supports using 4-inch galvanized screws. Angle the screws through the bottom of the 2-by-4 boards into the floor structure. Install a header board between the side framework for added strength.
Step 3
Cover the bottom 2 feet of the pen's sides and ends with 0.5-by-0.5-inch welded wire, attaching with wire fasteners. Do not cover your door opening.
Step 4
Install 1-inch schedule 40 PVC pipe down the center line of the roof, bolting the pipe to each arch. Maintain 4-foot intervals between each arch.
Step 5
Attach 1-inch schedule 40 PVC pipe lengthwise around the perimeter of the pen, along the outside, 2 feet from the floor. Bolt to the arches.
Step 6
Cover the remainder of the pen with 0.5-inch poultry netting, attaching with metal fasteners, or by weaving nylon fishing line through the netting and wire mesh.
Step 7
Use 1-by-2-inch wooden boards to build a door frame. Cover with poultry netting, affixing the mesh to the frame with staples. Attach two hinges to one side of the door frame with 0.5-inch screws. On the other side of the door frame, install one-half of your gate latch.
Step 8
Screw your door hinges to your frame using 0.5-inch screws. On the other side of your door opening, attach the other half of your gate latch.
Step 9
Install dusting boxes, feeders and waterers.