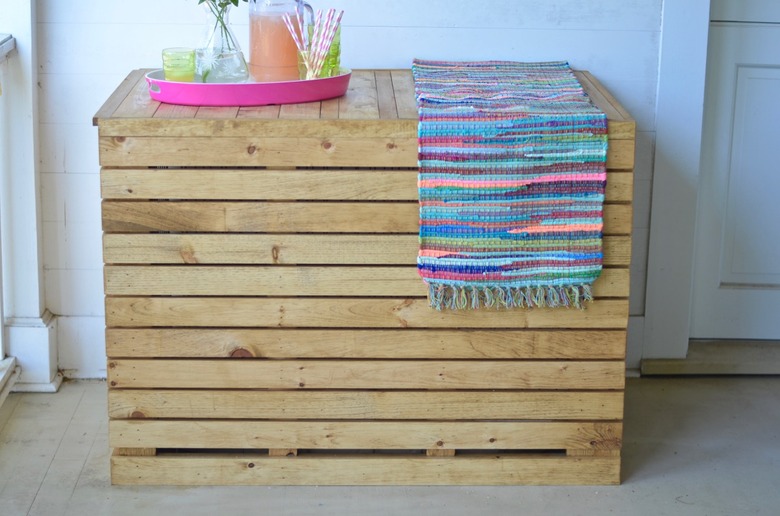
How To Make A DIY Wooden Dog Crate Cover

A dog is a beloved member of the family, but their "room" isn't always so picturesque. For many pet owners, a dog crate is an essential item but it lacks aesthetic appeal. A crate cover is easy to make, has clean lines and can double as a sideboard or extra table surface. Customize the appearance with paint or stain to match your décor.
Materials:
Materials:
• 16 8-foot pine 1x3 common boards
• 5 8-foot pine 1x4 common boards
• 3 8-foot pine 1x2 common boards
• 1 ¼ Kreg screws
• Kreg jig
• Table Saw/ Miter Saw/ Hand Saw
• 1 or 1 1/4" brad nails
• Wood glue
• Nail gun/ hammer
• Sandpaper
• Stain or Paint
Instructions
Instructions
The crate pictured here is a large crate with dimensions of 42.5 x 31.5 x 28 inches. Take careful measurements of individual crate dimensions being aware of the door swing and any hinges or corners that might protrude.
Note: This crate sits against a wall—so the cover is only three sided—but the plans can be adapted for a free-standing crate by simply adding a fourth side.
Building The Framework
Building The Framework
Start by building the framework for the front, top and two sides of the crate cover. The top requires two 1x3s cut to 45 1/8 inches and four 1x3s cut to 24 inches.
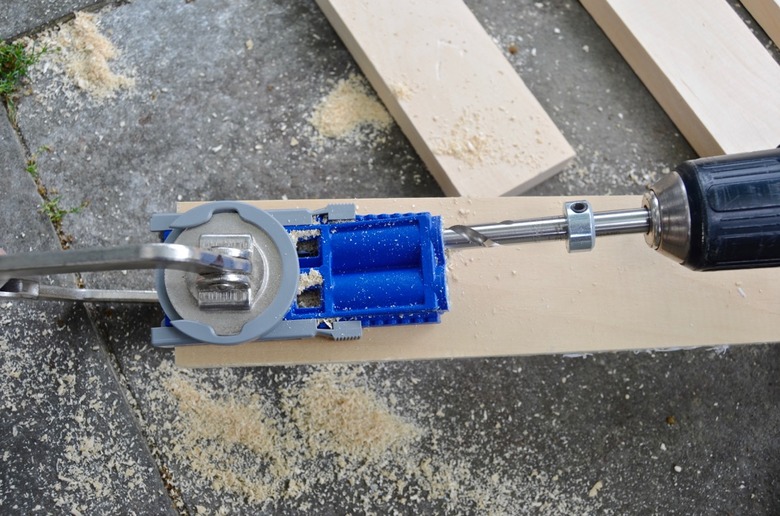
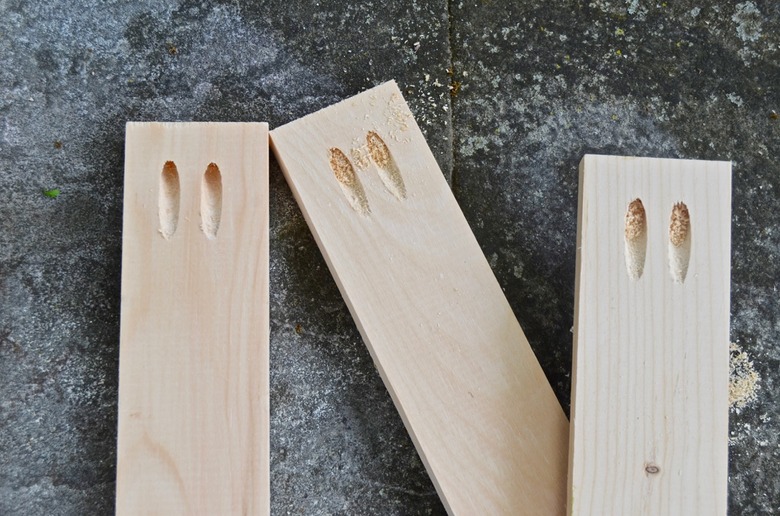
Using the Kreg jig, drill pocket holes at either end of the shorter boards. Align them as shown and screw them into the longer boards with the 1 ¼ inch Kreg screws.
 Cuteness
 Cuteness
 Cuteness
The front requires two 1x3s cut to 47 5/8-inches and four 1x3s cut to 28 ¼-inch. Repeat the same layout as the top, and attach with pocket holes and Kreg screws.
Make one more frame for the left side of the crate. Cut two 1x3 boards to 29-inches, and three 1x3 boards to 29 1/8-inches. Drill pocket holes at either end of the three longer boards and screw together with 1 ¼ Kreg screws.
Creating the Side With the Opening
Creating the Side With the Opening
The door of the crate shown in this project is on the right side, so the opening will be on the right side of the crate cover. Cut four boards: one 29-inch 1x3 for the top edge, one 29-inch 1x2 for the bottom edge (to allow the crate door to swing), and two 29 1/8-inch 1x3s for either side. Drill pocket holes in either end of the larger boards and screw these into the top and bottom pieces with 1 ¼-inch Kreg screws.
Assembling the Frame
Assembling the Frame
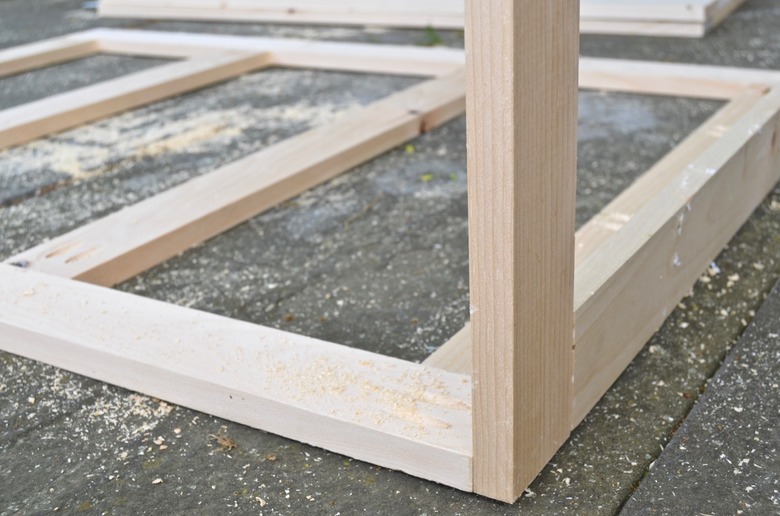
Using pocket holes, attach both sides of the crate cover to the front side.
 Cuteness
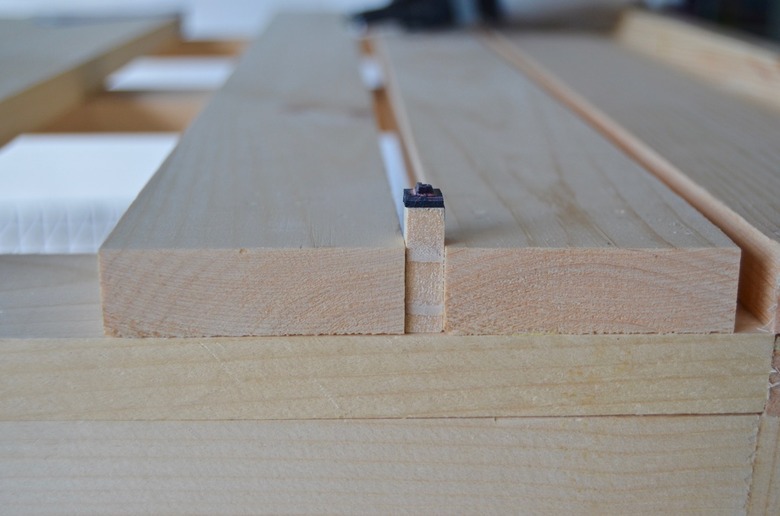
Note: The right side will be slightly taller than the left side so that the slats will lie flat when attached. (See Image below.)
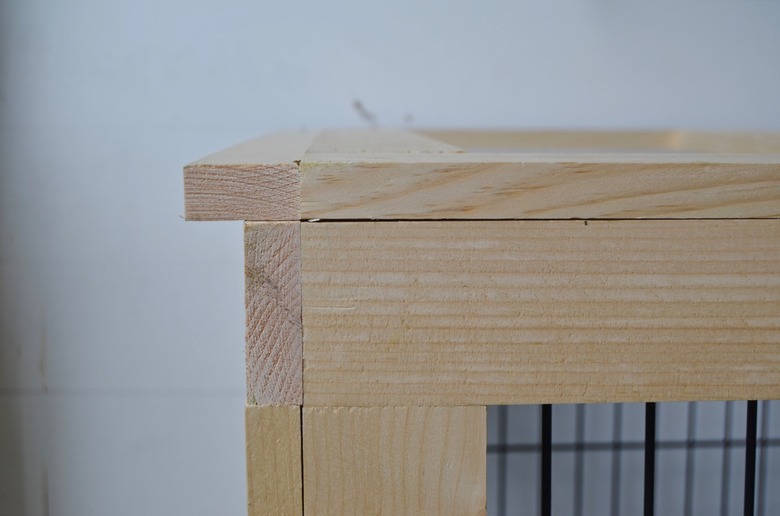
Using pocket holes, attach the top of the crate cover.
Note: The left edge of the top piece will overhang slightly so that the slats on the left side of the crate cover will lie flat. (See Image Below.)
 Cuteness
Applying Slats To the Framework
Applying Slats To the Framework
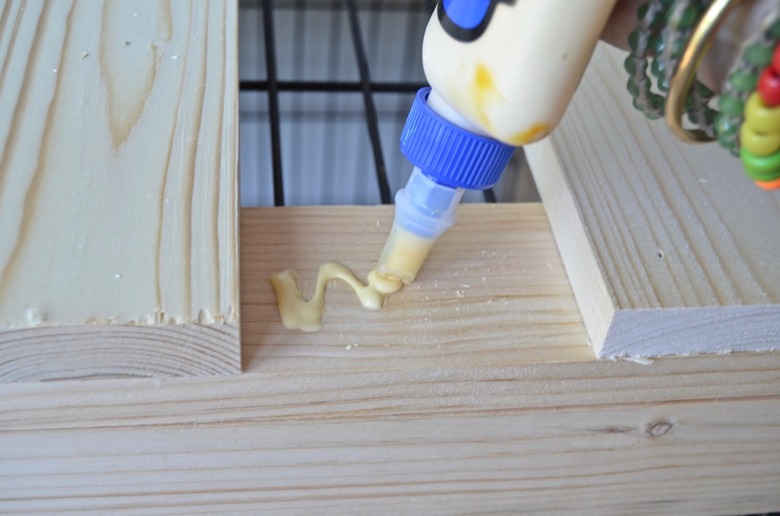
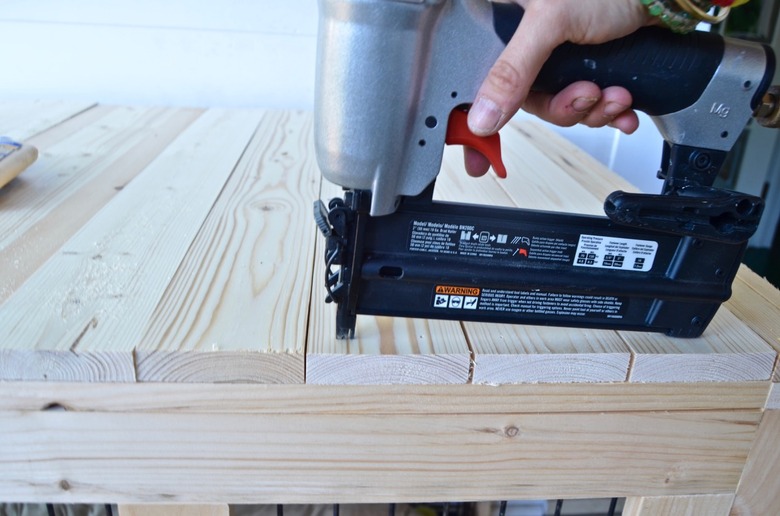
Cut and apply the slats to the crate cover. Starting with the top, cut eleven 1x4s to 29-inches. To evenly cover the top without ripping down the wider boards, cut four additional 1x2s to 29-inches. Working from the right side of the crate, squirt a bead of wood glue onto the frame and nail a 1x2 flush with the end piece. Repeat with the 1x4s and remaining 1x2s leaving a millimeter of space between each board to allow for wood expansion.
 Cuteness
 Cuteness
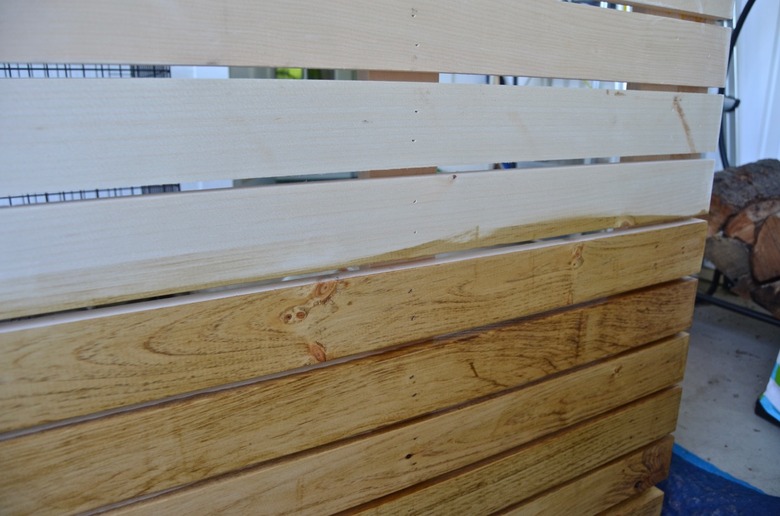
For the left side, cut eleven 1x3s to 29-inches each. Flip the crate onto the right (door) side to make it easier to apply slats to the left side. Determine how far apart you want these slats to sit. The crate shown has slats spaced approximately ¼-inch apart and the bottom slat with a slightly wider ½-inch gap.
 Cuteness
Save the front for last to ensure that these slats run the full length of the crate and cover the side edges. Flip the crate onto the back to make it easier to attach the slats to the front. Cut one 1x2 and eleven 1x3s to 45 7/8-inches long. The 1x2 should be the top edge. Follow the same spacing as the end of the crate cover, glue and nail the remaining slats across the front.
Although the back of this crate cover doesn't have slats, there is one 45 7/8-inch 1x2 nailed along the top edge to frame the top slats and to keep it symmetrical.
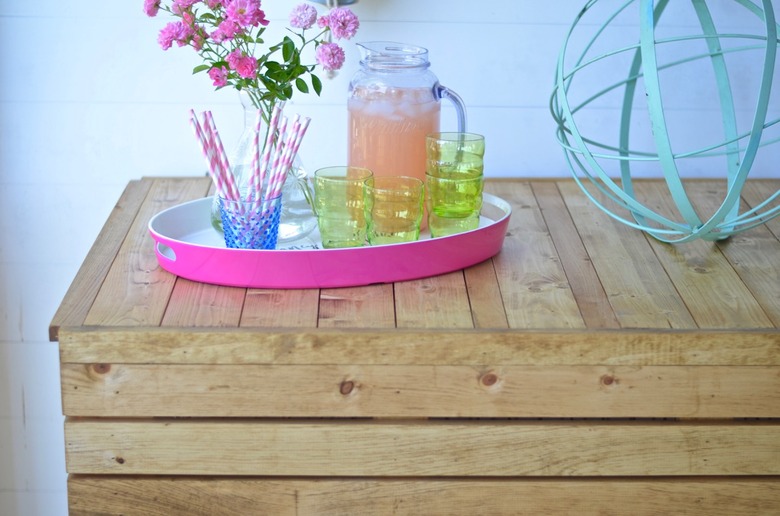
Sand any rough edges before painting or staining. The crate cover shown is stained with Minwax Golden Oak.
 Cuteness
 Cuteness
 Cuteness