Little Giant Incubator Instructions
Things Needed
-
Little Giant Incubator
-
Dish soap
-
Water
-
Sponge
-
Electrical source
-
2 thermometers
-
Fertile eggs
-
Calendar
Warning
Do not use cleaning chemicals stronger than dish soap because the fumes may damage developing embryos.
Do not open the incubator after you stop turning the eggs.
Refer to hatching literature before "helping" an egg hatch.
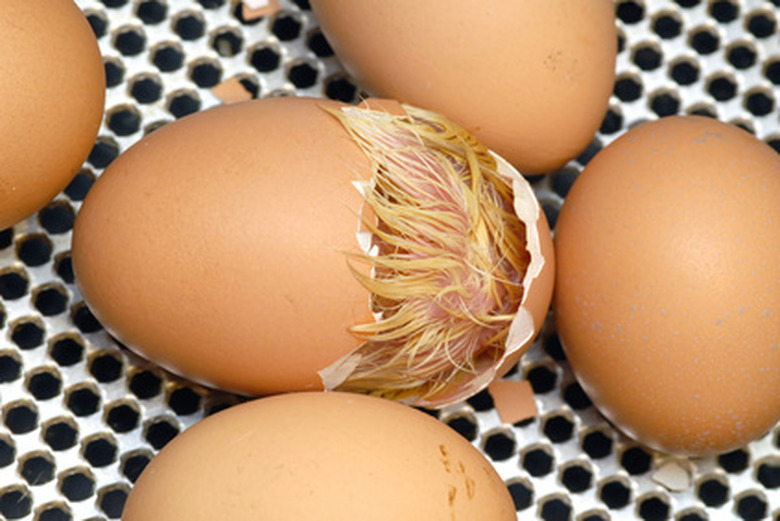
Do not open the incubator until the hatchlings are free from the shell and their feathers have dried out.
Tip
Temperature, humidity and incubation period varies significantly between different species.
Add water to the base as needed. A hygrometer can be used to monitor the humidity.
Packaging tape can be used to repair or reconstruct the base.
Embryo development can be tracked by "candling" the eggs. Refer to species-specific literature.
Little Giant Incubators are a simple and inexpensive option for counter-top hatching of chicken, duck, guinea, quail, turkey and even peacock eggs. Feed stores frequently carry these incubators but they can also be mail-ordered. New incubators come in heavy cardboard boxes which should be kept for future storage. The basic incubator will have a base, a piece of fitted hardware cloth, a plastic mounted thermometer, a top with a built-in heating element, two pieces of plastic "window" inserts and two vent caps. Replacement parts for these items also can be mail-ordered.
Preparing the Incubator
Step 1
Wash the incubator base and hardware cloth.
Step 2
Set the base outside in sunlight to dry for several hours.
Step 3
Place the hardware cloth inside the base.
Step 4
Insert the "windows" and vent caps in the top.
Step 5
Place the top over the base to make sure they fit together snugly.
Assemble the Incubator
Step 1
Set the incubator on a hard flat surface near an electrical outlet but away from drafts.
Step 2
Remove the top and pour water into the middle reservoir of the base. Excess water may drain out the ventilation holes in the base.
Step 3
Put the thermometers in the base. Use the thermometer that came with the incubator as well as another thermometer to verify the incubator is heating evenly and that the thermometers are accurate.
Step 4
Plug in the incubator and let it set for several hours. Check the thermometers to ensure accuracy.
Step 5
Adjust the thermostat to achieve the target base temperature. Let the incubator sit several hours after each adjustment before rechecking the temperature. Once the correct temperature is reached, let the incubator sit overnight to make sure the incubator can maintain the correct temperature.
Setting the Eggs
Step 1
Write an "X" on one side and an "O" on the other side of each egg.
Step 2
Place the eggs on the hardware cloth so they aren't touching.
Step 3
Rest the plastic mounted thermometer on top of the eggs, situated so you can see it through one of the windows.
Step 4
Read the plastic mounted thermometer after the incubator has been allowed to sit for several hours. Slight variations may affect the rate of development.
Step 5
Turn the eggs twice a day to exercise the embryos and ensure even heating. Use the Xs and Os to help keep track of which eggs have been turned.
Hatching Chicken Eggs
Step 1
Mark on the calendar the day you put the eggs in the incubator. This is Day 1.
Step 2
Count ahead on the calendar and mark the day you will stop turning the eggs.
Step 3
Count ahead on the calendar and mark the day most of the eggs hatch.
Step 4
Count ahead on the calendar and mark the day to dispose of any unhatched eggs.
References
- "Raising Chickens for Dummies"; Kimberly Willis; 2009