How To Make A Clicker For Dog Training
Things Needed
-
Jar lid
-
Flat-head screwdriver with rubber handle
-
Rubber mallet
Warning
Keep tools away from children.
Tip
You may want to visit your local pet store to determine how a clicker should sound before making your own.
Clicker training is an efficient method of teaching good behavior, basic commands and tricks to your canine with a reward-based training system. This training method includes an initial command and a "click," then a treat from the trainer once the canine student completes the command. Clickers are available at many pet retailers, but you might be surprised to learn how easy it is to fashion your own.
Step 1
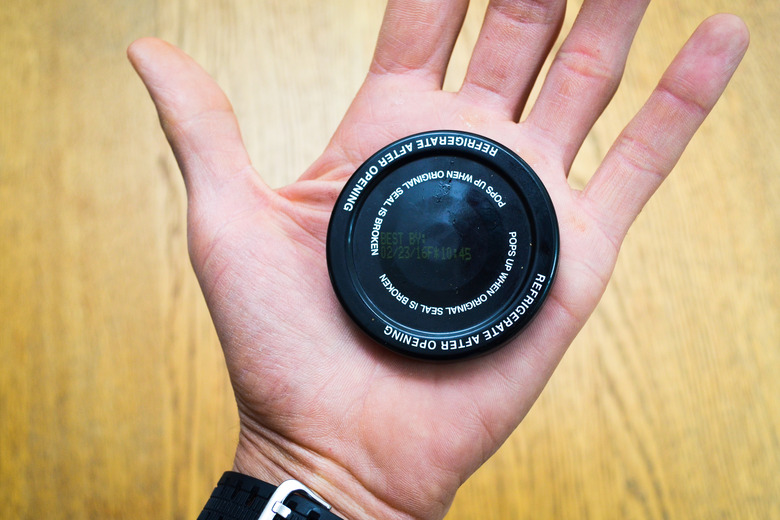
Choose your jar lid. You'll want the lid to fit comfortably in your hand. A lid from a single-serve juice bottle or baby food jar is likely to be a good size.
Step 2
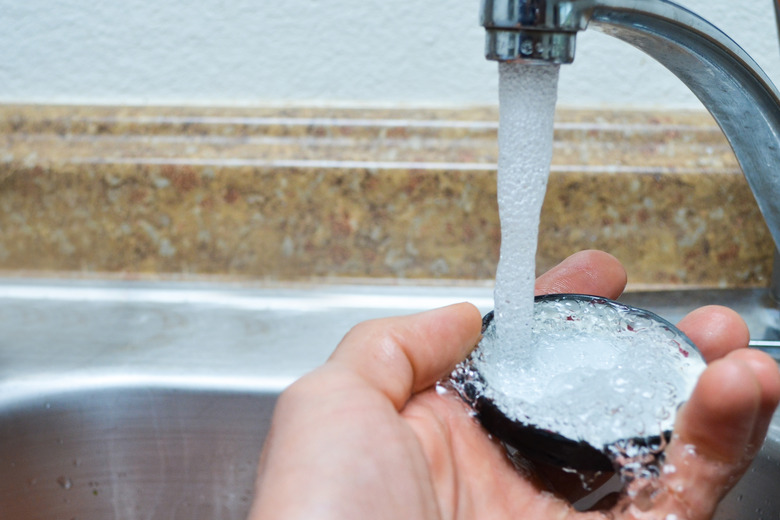
Wash and dry the jar lid.
Step 3

Place the jar lid right side up, as if you are going to screw it back on the jar, on a flat surface such as a cutting board.
Step 4
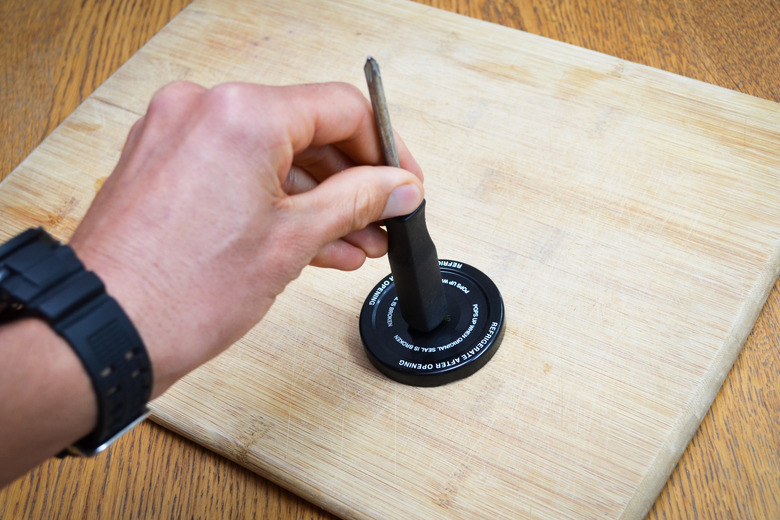
Place the screwdriver in an upside down position — with the rounded part of the handle in the middle of the jar lid and the blade facing up.
Step 5
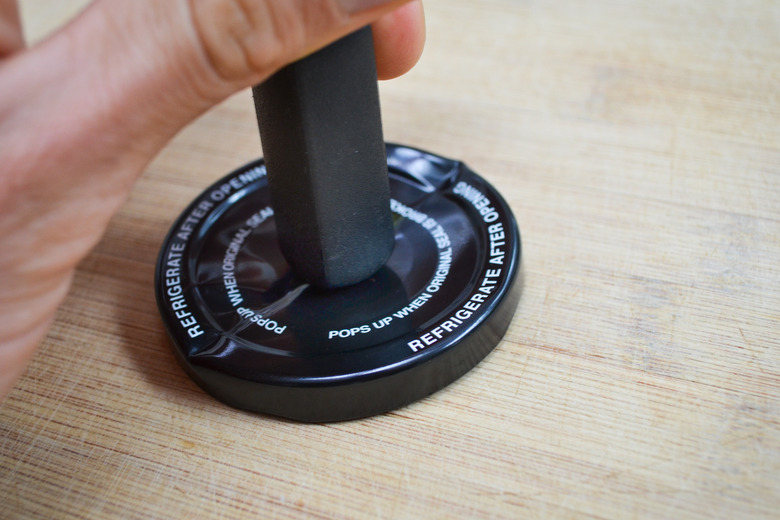
Tap the blade of the screwdriver with the rubber mallet, causing the handle end to force a depression in the top of the lid. Even with a lid that has a safety-seal button that you can depress, you'll want to indent the center of the lid a bit more to make a decisive click when you press it from the underside.
Step 6
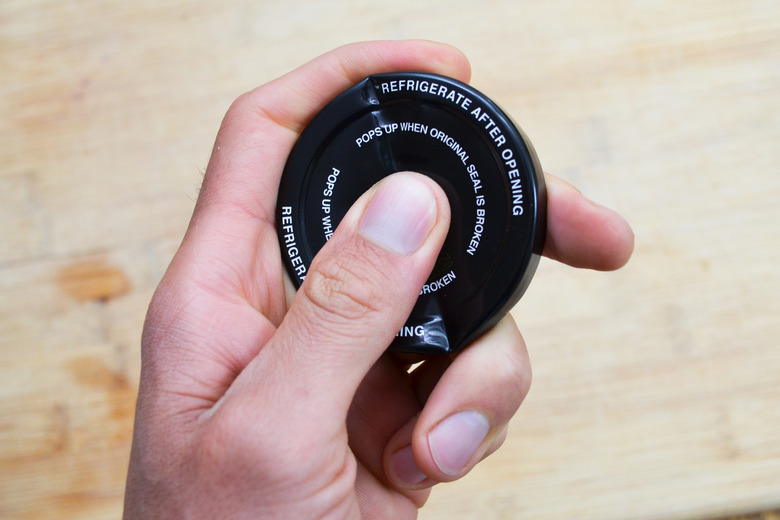
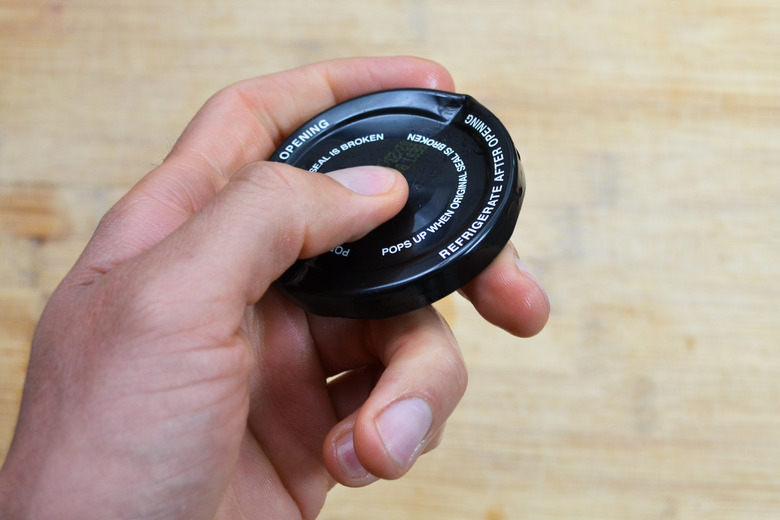
Check your clicker to see how it sounds by placing a thumb on the underside of the lid and pushing the depression firmly until it pops. If necessary, repeat steps 4 and 5 until you've achieved the clicking sound you desire.