How To Make An Elevated Dog Feeder
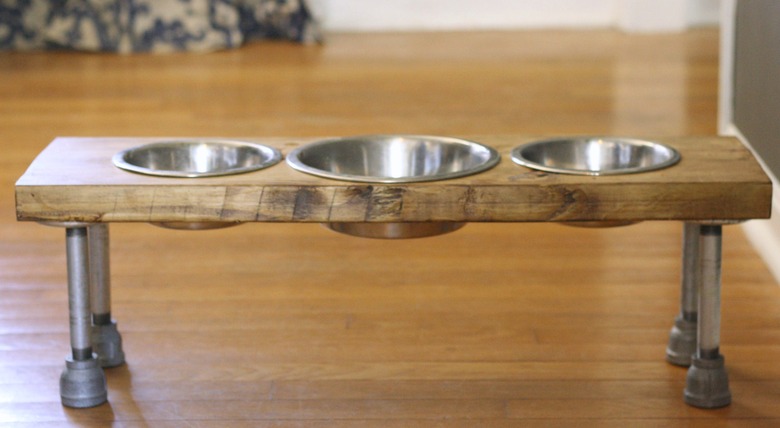
Finding stylish dog accessories that work with your home's decor can be a challenge. This simple DIY elevated dog feeder will keep your pet's dish zone tidy, add a rustic industrial element to your home's decor, and allow you to create a functional solution for feeding one (or multiple) dogs.
Step 1
Step 1
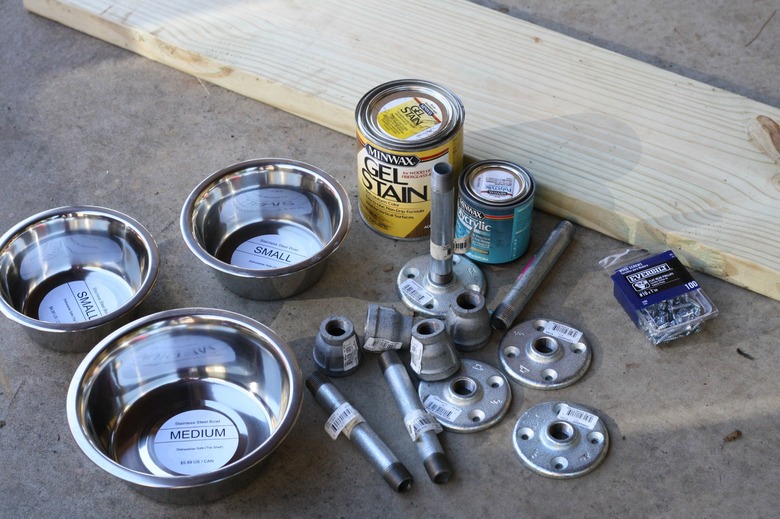
First, you want to gather your supplies. See the Things You'll Need list for an itemized list of the materials needed for this project.
Things Needed
- 3 metal dog dishes with a lip
- 1-inch thick plank of wood cut to the size that will fit all of your dishes (in this case 18 inches by 28 inches)
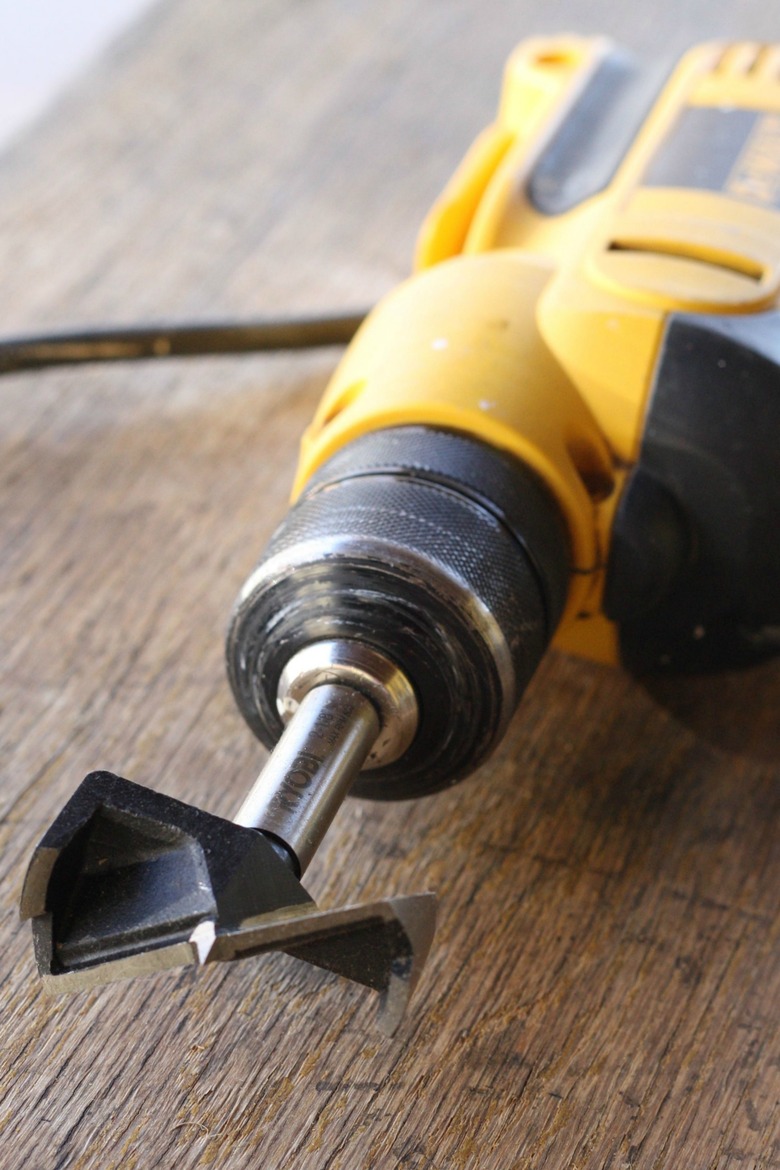
- 1-inch hole cutter drill bit
- Drill
- Jigsaw
- Orbital sander
- 220-grit sandpaper for orbital sander
- Gel stain
- Water-based polyurethane
- 1/8-inch drill bit
- No. 10 wood screws, 1 inch long, 16
- 1/2-inch galvanized pipe flanges, 4
- 1/2-inch wide and 6-inch long galvanized threaded pipes, 4
- 1/2-inch to 3/4 inch galvanized pipe couplings, 4
Step 2
Step 2
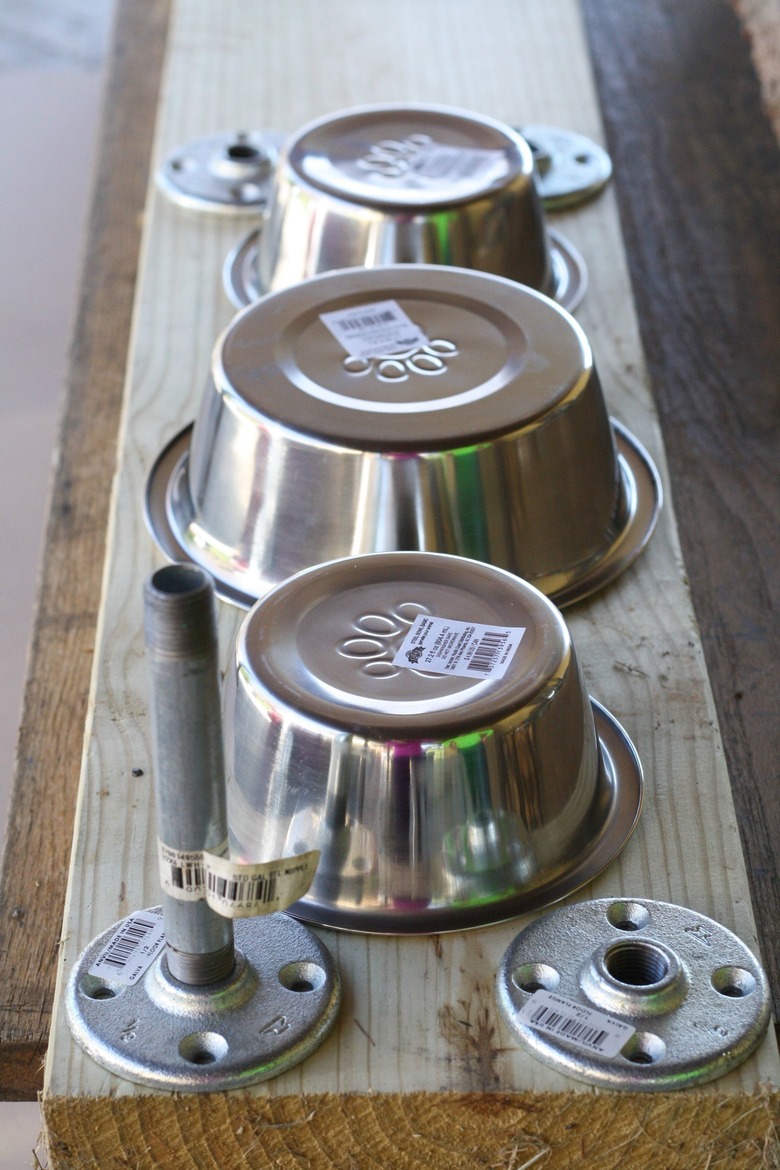
Next you want to lay out your design, which will vary according to the size of your dishes. Include your flange placement so that you account for everything before you cut your board.
Step 3
Step 3
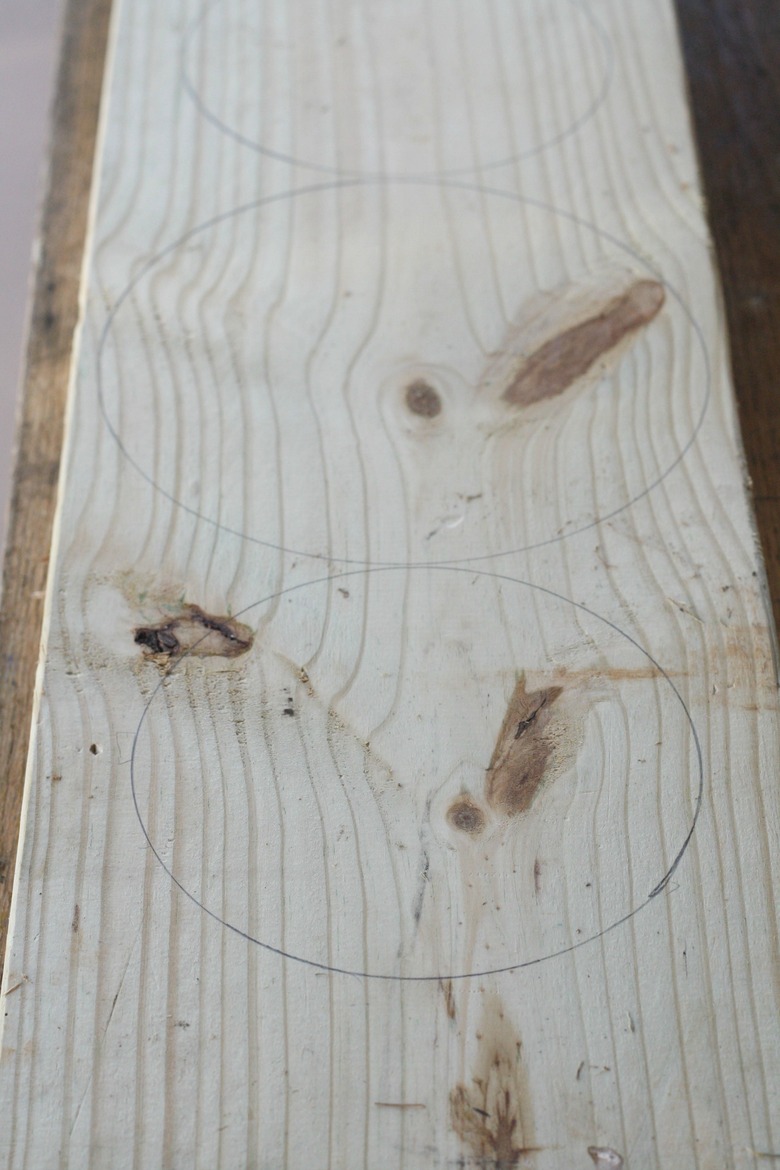
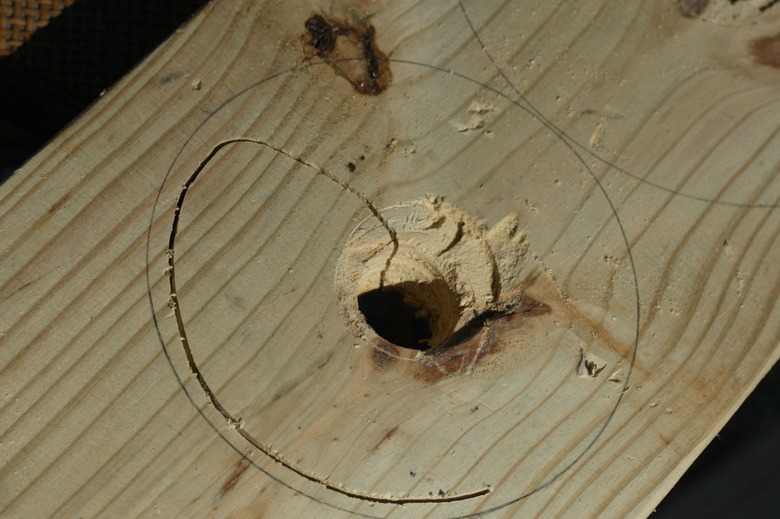
Use a pencil to trace around the bowls. It is OK if the circles touch, as these are just the outline of the outer rim of the bowls. The bowls will not actually touch when you are complete. They will lay how you had them in your initial layout design, as far apart or close together as you place them.
Step 4
Step 4
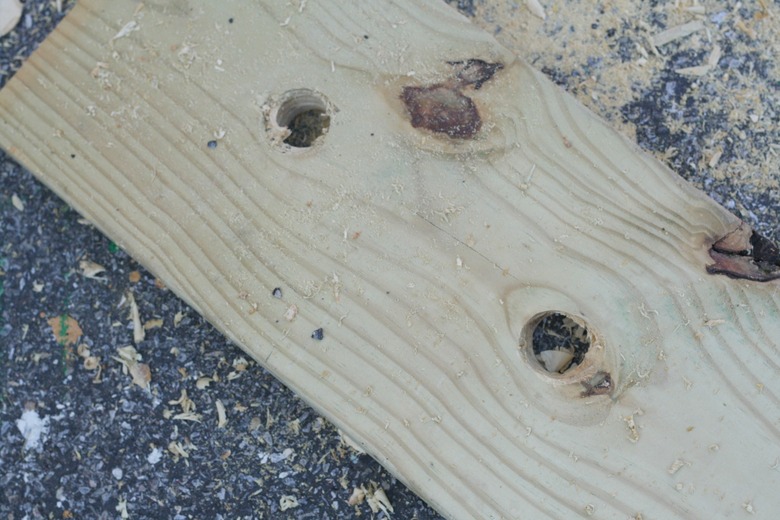
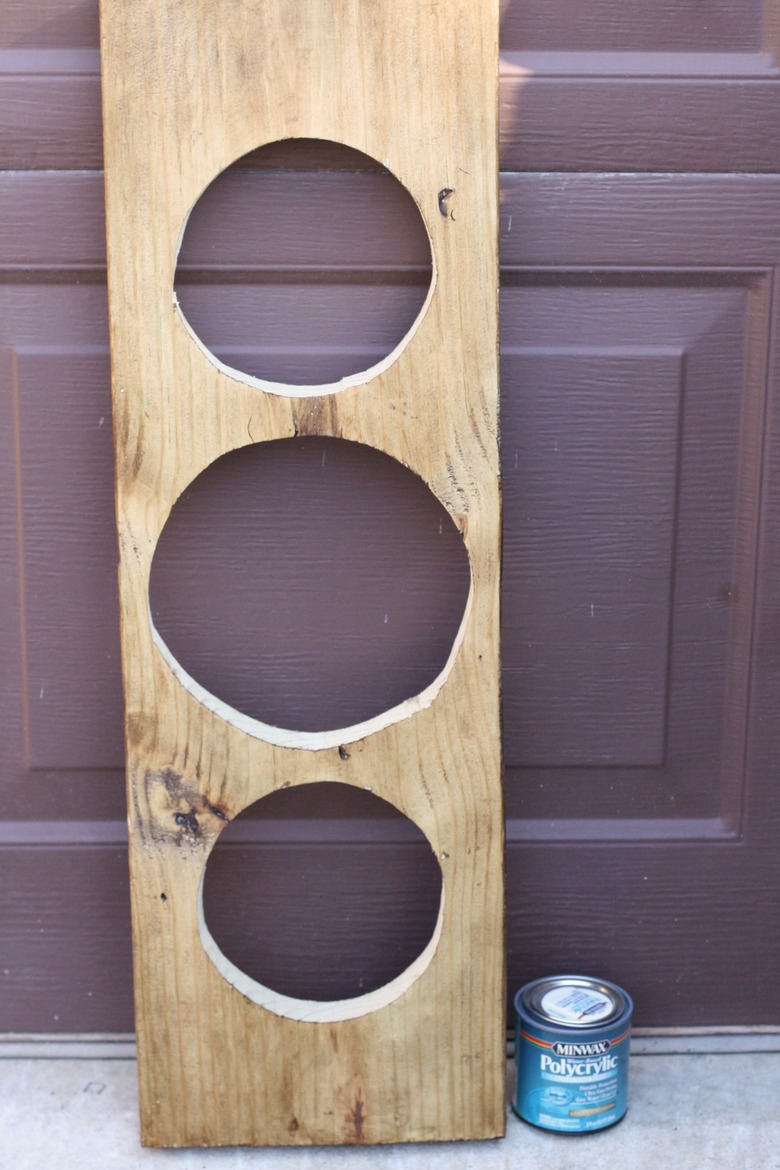
With your 1-inch hole cutter drill bit, cut a hole in the center of each bowl space. This does not have to be perfect or centered, as it will just be cut out later.
Step 5
Step 5
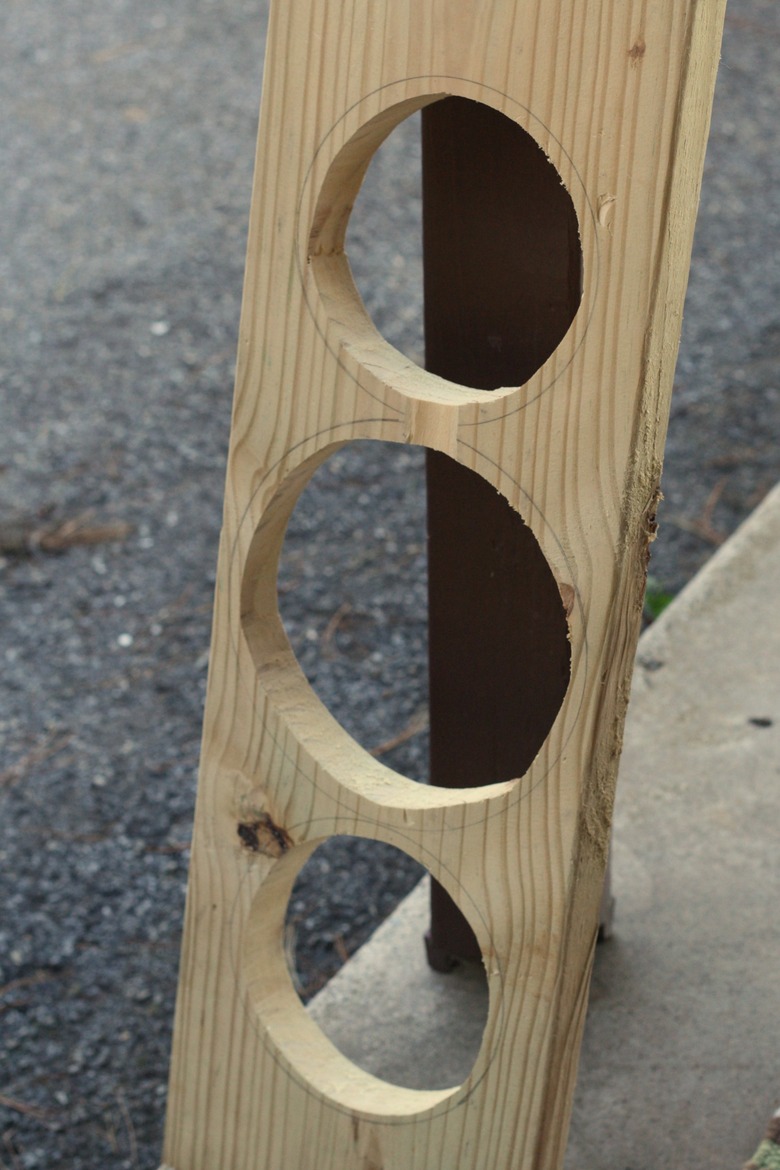
With your jigsaw, start in the hole you drilled and begin to cut out the circle outline of your bowl. Stay approximately 1/4 to 1/2 inch inside of your line, as you want the lip of your bowl to rest on the wood. If you cut on your pencil marking, your bowl will fall through the hole. The holes do not need to be perfectly round, as the bowl will hide any imperfections.
Step 6
Step 6
After all of your holes are cut, test out the bowls to make sure they fit. When you are certain they work, use your orbital sander and 220-grit sandpaper to sand your wood smooth and also sand off your pencil marks.
Step 7
Step 7
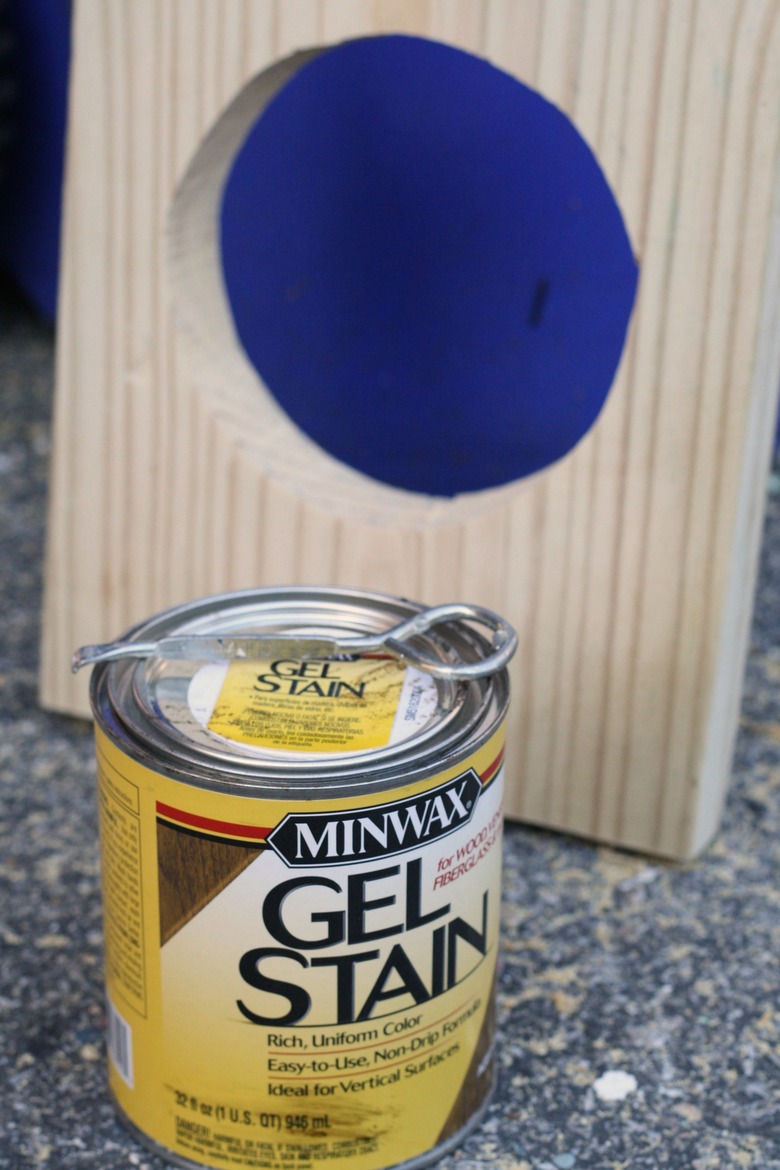
Using a rag, apply your stain and follow the grain of the wood. In this case, aged oak gel stain was used, but you may use whatever you prefer.
Step 8
Step 8
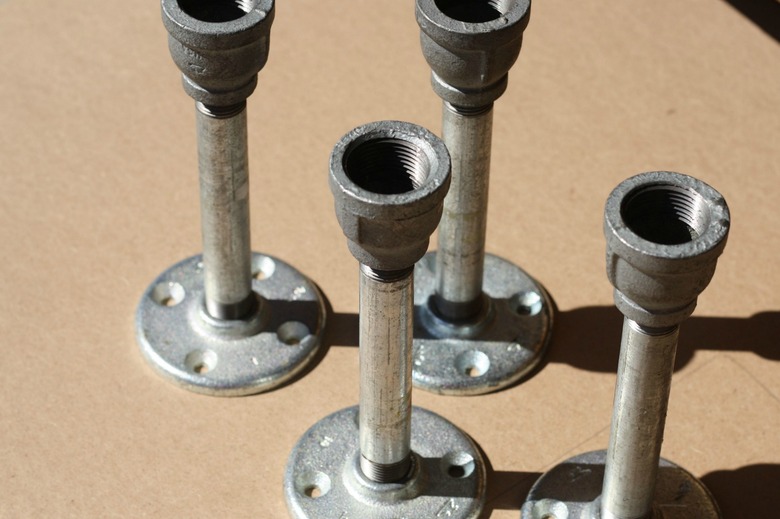
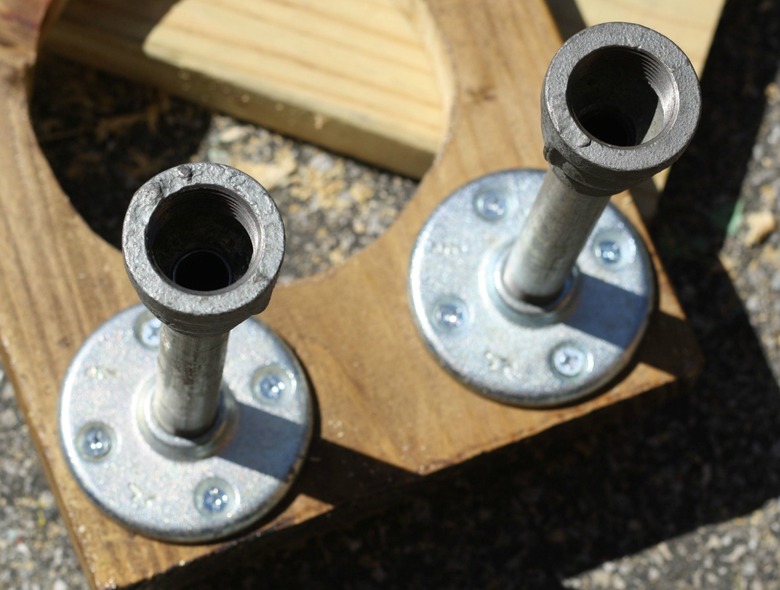
While the stain is drying, assemble the legs. Thread one end of each pipe onto one flange, and thread the other end onto the coupling.
Step 9
Step 9
After the stain has dried for 24 hours, use a foam brush to apply a coat of water-based polyurethane. Allow the polyurethane to dry according to the manufacturer's directions.
Step 10
Step 10
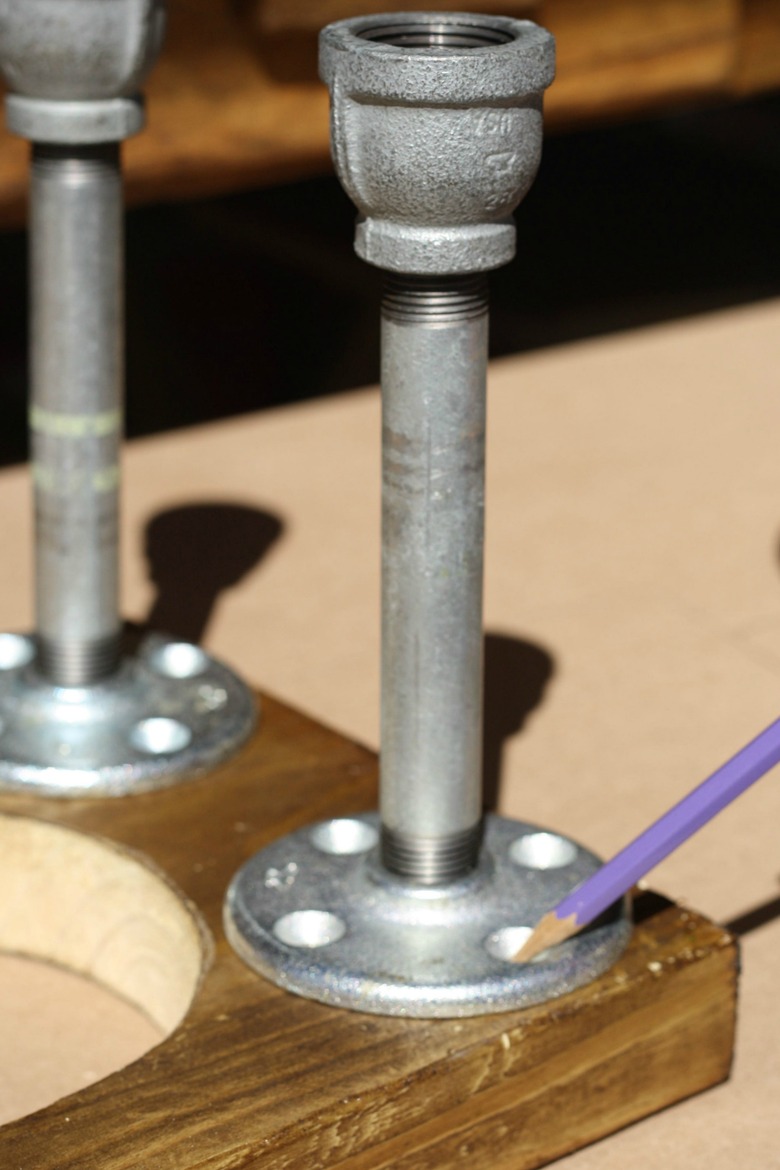
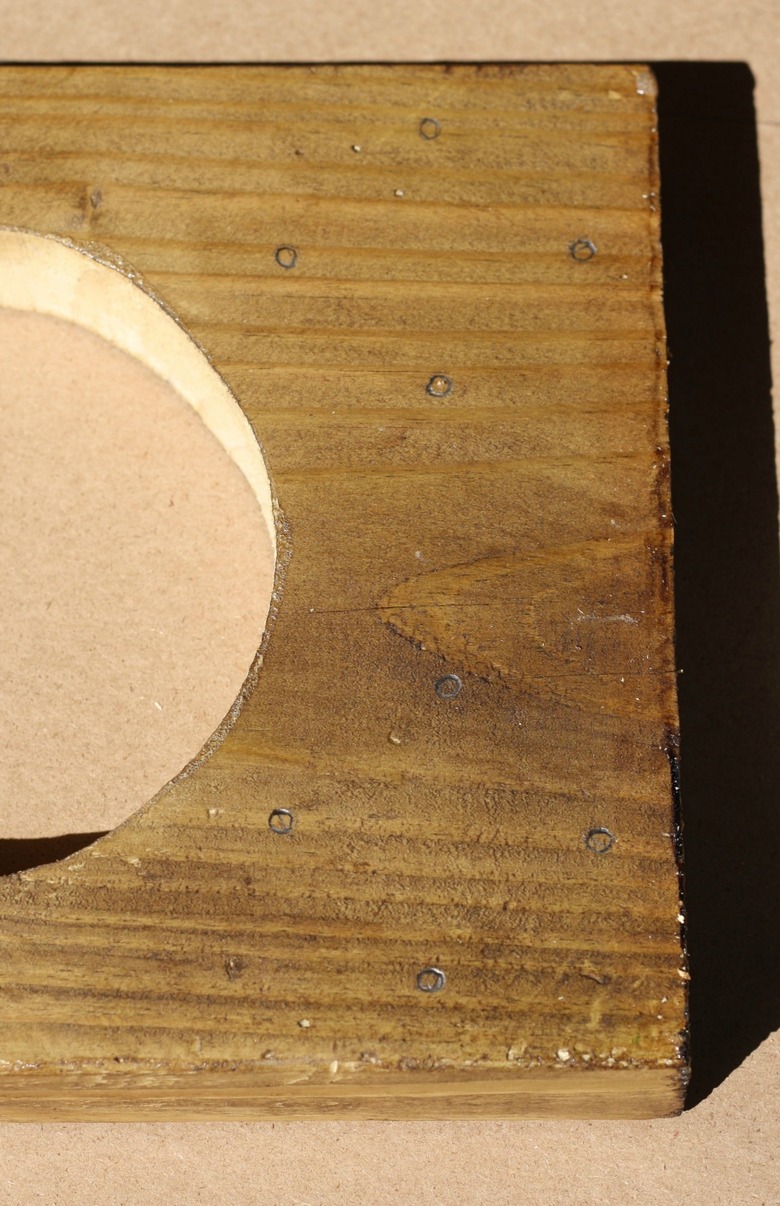
Decide which side of your wood will be the top and which will be the bottom. Lay it face down and mark the screw holes for your flanges.
Step 11
Step 11
Drill on your pencil marks using an 1/8-inch drill bit.
Step 12
Step 12
Using your drill and a Philips-head screwdriver, screw the legs into the wood.
Step 13
Step 13
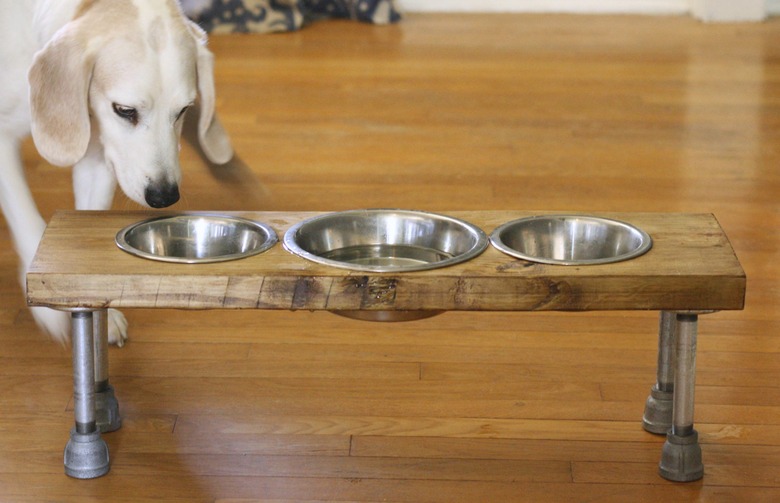
Flip it over, insert the bowls and let your pets enjoy your handiwork while you appreciate the fact there is no longer an eyesore of bowls astray on your floor.
Tip
Add felt disks to the bottom of the legs to avoid scratching your floor.
