How To Make Service Dog Vests
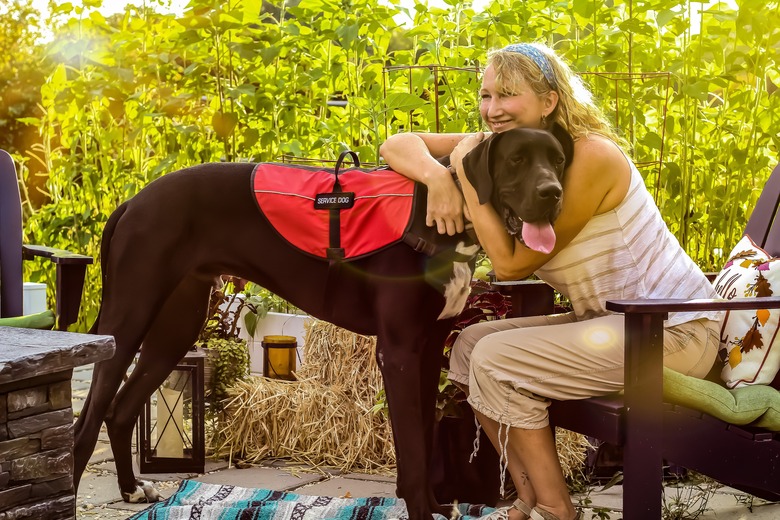
Service dogs who help people with disabilities are easily recognized by their vests that often contain wording warning others not to pet the dog because he is working. Although service dogs are not required by any rule or law to wear a specific color of vest or to even wear a vest at all, it's easy to make a DIY service dog vest without knowing how to sew and without being crafty.
Make your own service dog vest pattern
Make your own service dog vest pattern
These service dog vests are really more like blankets because they don't go around the dog's legs or neck the way a traditional vest would. This is why they are so easy to make. To create your service dog vest pattern, use a soft, plastic, or paper tape measure to determine your dog's girth, which is the distance around the largest part of her chest and stomach; this is the length of fabric you'll need to cut.
Next, decide how wide you want the vest to be, making sure it's wide enough to accommodate any patches you plan to use. Add 2 inches to the width for finishing the edges. Mark the length of your pattern on a large piece of newspaper or parchment paper. Then, mark the width at several points from one end of the length to the other and connect the marks in a straight line on both sides. The shape of the vest is like a rectangular placemat for your table. Cut out the pattern, running your scissors just outside the lines.
Choose any fabric color
Choose any fabric color
The Americans with Disabilities Act states that service dogs are not required to wear specific clothing, collars, or tags identifying them as service animals. While you often see service dog vests in blue or red, you can choose any solid color or a floral or tie-dye pattern if you wish. Just make sure that any patches you want to add will be visible on the fabric.
More important than pattern or color are the weight and fiber content of the fabric. Heavy fabrics are uncomfortable in hot weather. Delicate fabrics, like silk, aren't sturdy enough, while knits are difficult to work with because they stretch. Cotton remains the best fabric choice because it's a sturdy weight without being too heavy, and it washes easily. Take your pattern with you when shopping for fabric to determine how much to buy; generally, 1/2 to 1 yard will do.
Finishing your service dog vest
Finishing your service dog vest
Before cutting your fabric, wash it in cold water or according to its care directions and dry it in the dryer. Fabrics may shrink or bleed color when they are first washed, and you want this to occur before you make your vest. When the fabric is dry, lay it out flat and pin your pattern to it straight with the grain, or woven lines. Cut it out along the pattern lines. Remove the pins and lay your cut fabric over your dog to check that it fits and you like the look.
To finish the four edges, fold in each edge 1/2 inch and pin it in place all along the edges. Now, iron the fold flat on the inside of the vest, removing the pins as you go. Fold the edges in again 1/2 inch, enclosing the raw edges in a double-fold hem. Iron these edges firmly so they lie flat, again ironing on the inside of the vest. Using a hot glue gun, place a thin line of glue on the underside of about 6 inches of the folded edge at a time and press the edge in place with a fabric scrap so you don't get burned by hot glue.
If you prefer, you can sew the edges either by hand using a slip stitch on the inside or on a sewing machine. Next, cut two lengths of purchased cording or ribbon, about 12 inches each. Attach one to the middle of each short side of the vest, stitching it in place. Finish the other end of each cord with a dot of glue to keep it from unraveling. That's it! Place the vest on your dog, tie it underneath, and admire your service dog's custom-designed, handmade, easy-to-wear vest.


