How To Repair A Flexi Retractable Dog Leash
Retractable dog leashes allow your dog the freedom to roam further while still staying attached to you. Sometimes Flexi standard 3 leashes become locked, blocked, or tangled within the mechanism, but there are easy, cost-effective DIYs to repair a Flexi retractable dog leash.
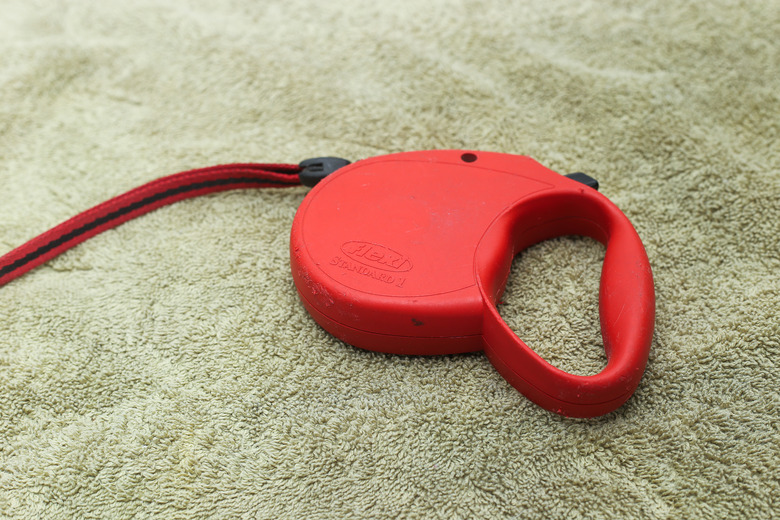
Retractable leashes are a good way to keep your canine pal out of harm's way. You can quickly reel in the dog to bring him closer to you, or hit the button mechanism to lock the Flexi leash at a specific end point. Flexi retractable dog leashes are rated for various sizes of dogs. Be sure to choose the correct size for your dog.
Your Flexi retractable dog leash should work smoothly for years, but occasionally something happens to inhibit the retracting mechanism. Usually this is a sign that dirt or dog hair has fouled the leash mechanism. If you clear the blockage, the leash should work again. Here are a few simple do-it-yourself steps to repair a Flexi retractable dog leash.
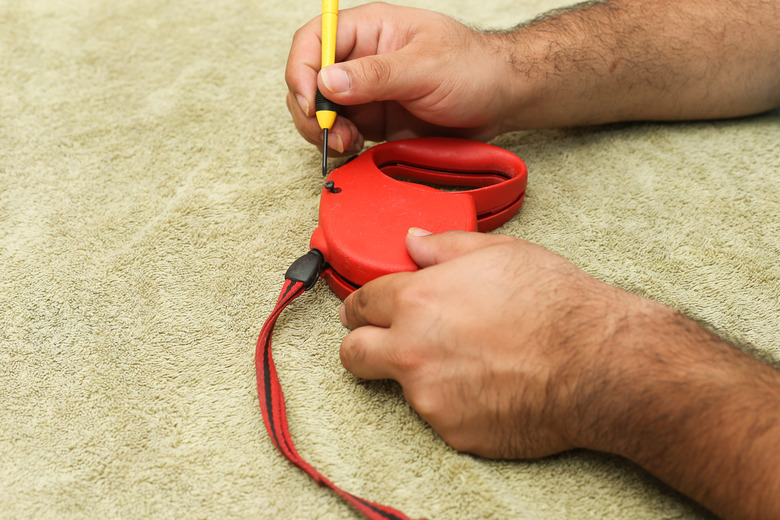
Reel it in
Reel it in
Reel the leash in completely. Turn the leash over so that the side without the Flexi logo is facing up. Locate the two recessed screws just below the handle on either side. Use a small Phillips screwdriver to unscrew these screws. Set the screws aside in a safe place.
Pry apart the leash housing
Pry apart the leash housing
Pry apart the two halves of the leash. You may need to insert a flat blade screw driver into the gap between the two halves and wiggle it back and forth a few times before the leash housing will come apart. Do this gently to avoid breaking the plastic housing. Remove the top half (the part that doesn't contain the retractable mechanism) and set it aside.
Check for clogs or tangles
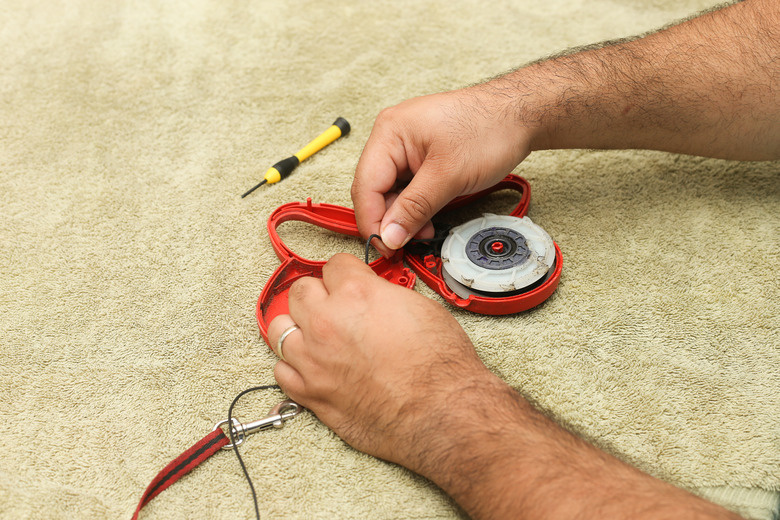
Check for clogs or tangles
Examine the leash and the reel around which it is wound. Check for the following problems: a twist in the leash, which will cause the leash to rewind improperly; a clump of dog hair clogging the mechanism; or dirt clogging the mechanism.
Watch out for spring action!
Watch out for spring action!
Tug on the end of the leash and very slowly unroll just enough to address the problem. Remove the dirt or the clot of dog hair, or straighten the twisted section of leash. Do not unroll the leash completely, and be sure to retain hold of the free end of the leash at all times. Caution: the retracting mechanism works by means of a powerful spring and it could lash back at you.
Reassemble and check your work
Reassemble and check your work
Replace the cover on the leash and reinsert the screw and tighten. Your leash should unreel and retract smoothly.
If this do-it-yourself repair didn't quite work, you may need Flexi leash replacement parts. These can usually be found on Flexi's website, or through online retailers such as Amazon, eBay or big box pet supply stores.
When all else fails, it might be time to buy a new leash. Check out various retailers to find the best retractable dog leash with light, or other Flexi leashes. They come in a variety of sizes and colors. Even the cord or nylon tape itself comes in different weights and thicknesses depending on the size of the dog, or your personal needs.
Giving your dog the freedom to walk and sniff while using a Flexi retractable dog leash is a wonderful feeling. Always be sure to watch for wear and tear on the cord or nylon tape. Retractable leashes are not for every dog. Walking your dog is a great way to bond and get exercise for both human and canine!