Betta Fish Plant Vase: Here's How To Create A Beautiful Betta Fish Vase
Things Needed
-
Large jar (11" or taller)
-
Decorative pebbles, sometimes called "gems".
-
Plastic plant tray (comes with a vase kit that is ready for beta fish displays) or a clear plastic cup.
-
Ribbon
-
Betta Fish
-
Plant (you will want a philodendron or a peace lily because these are not poisonous to the beta fish).
-
Water conditioner (for fish, found in the fish aisle).
-
Betta fish food.
-
Fish net.
Warning
Never use straight tap water. Water should either be bottled, left to sit out 24+ hours, or conditioned before use. Don't change the fish's water more then once a week because you can shock them. Use room temperature water so as to avoid shock. If the water is either hotter or colder then that, let it sit for a few hours before putting your fish back. Never place more then one fish in this type of jar. Also male bettas should never be placed in an enclosure with other males or females.
Tip
You should stir the bottom of the jar once a week and then dump half the water out (be careful not to loose your fish). Replace that half water with fresh. Once a month do a complete water change by removing the fish, washing the jar and rocks, and replacing the water. Reassemble everything. Feed your fish according to the instructions on the food that you purchase. Make sure that there is enough water that it is reaching the roots. However, also give your fish room to come to the surface for air (leave about 1" between the neck of the jar and water level to provide lots of air space).

Betta fish are easy to keep and they can be kept in less space then a traditional tank takes up. On top of that, you can create a beautiful set up complete with a live plant and a happy beautiful fish.
Step 1
Gather materials. With a lot of different choices out there you have to figure out what works best for your needs and desires.
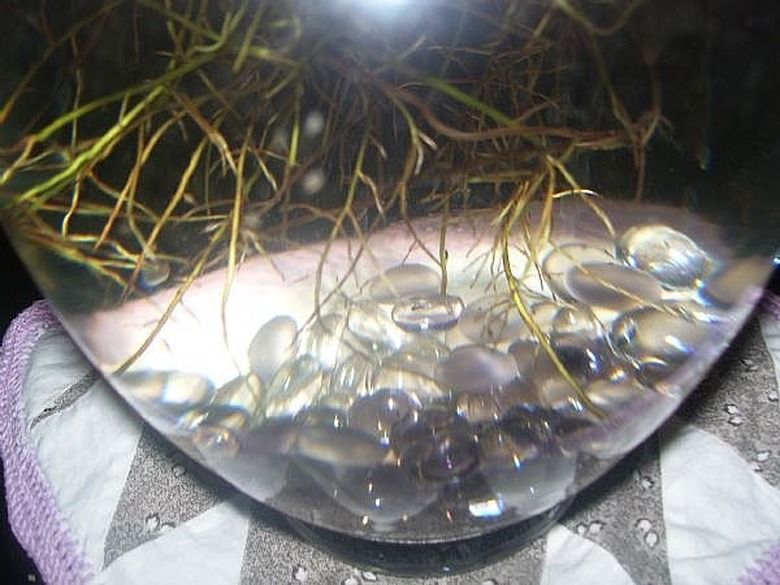
The Jar. One of the first parts is choosing a great jar. You want one that has a small neck and a large bowl region (after all the larger the space the more swimming room your fish has). To pull this off you want it to be at least 11" tall and hold at least 2/3 of a gallon of water. There are beta vase kits that make this really easy and come with the jar, instructions, and a plastic tray for your plant.
Decorative stones and ribbon. You don't have to have either, the stones help keep it clean by trapping waste and the ribbon is a decorative touch. You can color coordinate them with each other as well as with your fish.
The Plant. You will want a small philodendron or peace lily. Both these plants are safe and usually easy to find.
Step 2
Once you have your items chosen you will want to remove the plant from it's package and start soaking the roots to cleanse all the soil away. Leave those soak while finishing the rest of the details.
Step 3
Wash your stones and jar in warm water to remove dirt and glass particles.
Step 4
Place half of the decorative stones in the bottom of the jar.
Step 5
Fill the jar with water. You will want to add a few drops of water conditioner (for fish) to this or use bottled water to make sure there isn't any chlorine in it which can harm your fish.
Step 6
Add your fish. Using a net, gently scoop your fish up and place it in the jar.
Step 7

Wrap the ribbon around the neck of the jar. You can either knot it, tie it in a bow, or tuck it under itself to hold it in place.
Step 8
Cut a whole in the plastic tray that came with the jar or a clear plastic cup if you don't have a tray with your jar. This should be large enough to stick the roots of the plant in, but small enough that the plant isn't going to fall into the water.
Step 9
Finish rinsing the roots as best you can.
Step 10
Place the plant in the cup or tray with the roots through the whole in it.
Step 11
Place the plant in the jar with the roots in the water.
Step 12
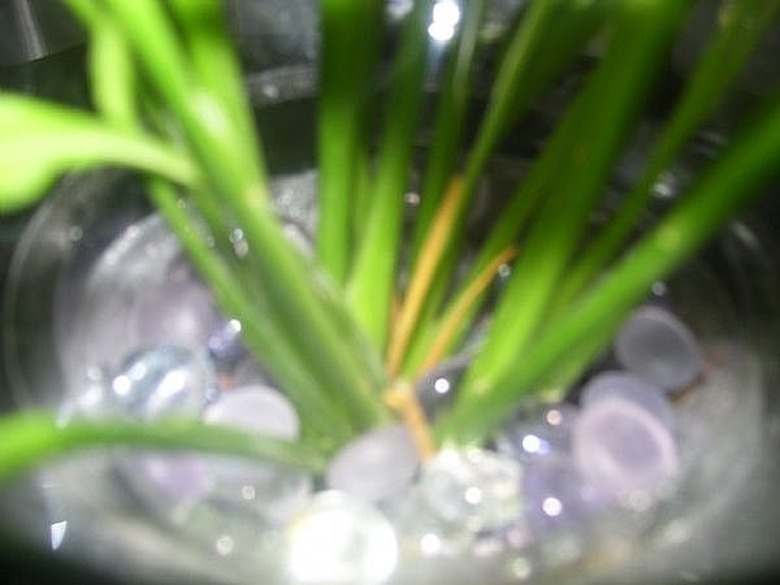
Add decorative stones to the tray or cup. This gives it a more finished look and also helps hold the tray or cup down so that it is in place.