How To Make A Homemade Pond Aerator
Tip
During warm weather do not shut off your pond pumps! As the weather warms up it heats the water in your pond, warm water holds less oxygen so you may need to add a pond aerator to keep the dissolved oxygen levels in your pond up high enough so that you don't loose your expensive Koi
Warning
If you find your fish at the surface of the water with their mouths out of water and they are not feeding, the dissolved oxygen levels are dropping and you need to make a pond aerator or add an additional pond aerator to prevent losses.
If you have a pond and want to keep Koi or other fishes you need a pond aerator of some sorts.
During the warm spring and hotter summer months the dissolved oxygen levels in your pond may drop drastically. This drop on dissolved oxygen levels can put your fish in stress or even cause deaths.
Here is how I made a simple pond aerator to prevent this situation
Step 1
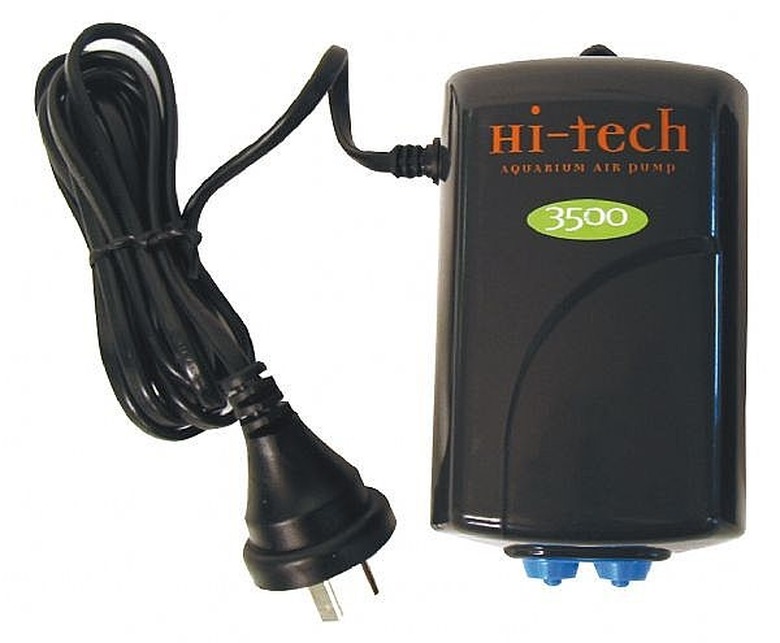
Determine the size and features of your pond. For smaller ponds or shallow areas in a pond you can use a simple air pump with tubing and air stones.
If the pump is not rated for outdoor use you must place it inside of a plastic box with a lid to prevent water leakage into the box, but you must also have holes in the sides to allow air into the box to both provide the oxygen and ventilation to prevent the pump from overheating.
Step 2
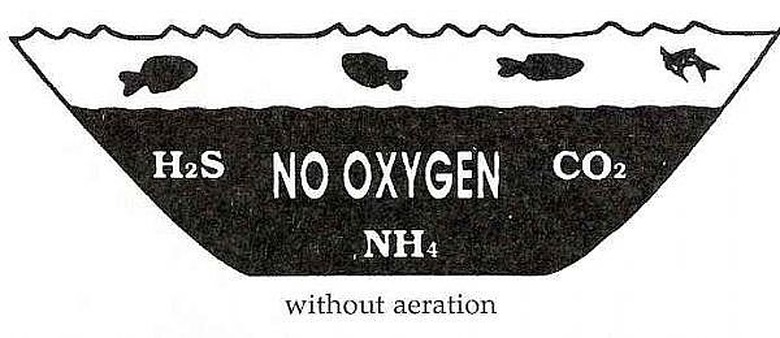
Without a pond aerator of some sort you will have reduced oxygenation levels in the lower areas of your pond, this forces the fish upwards to the top layers of the pond where warmer water again carry's diminished oxygen, until it can no longer support fish. There are several ways in which you can bring oxygen to your pond.
Step 3
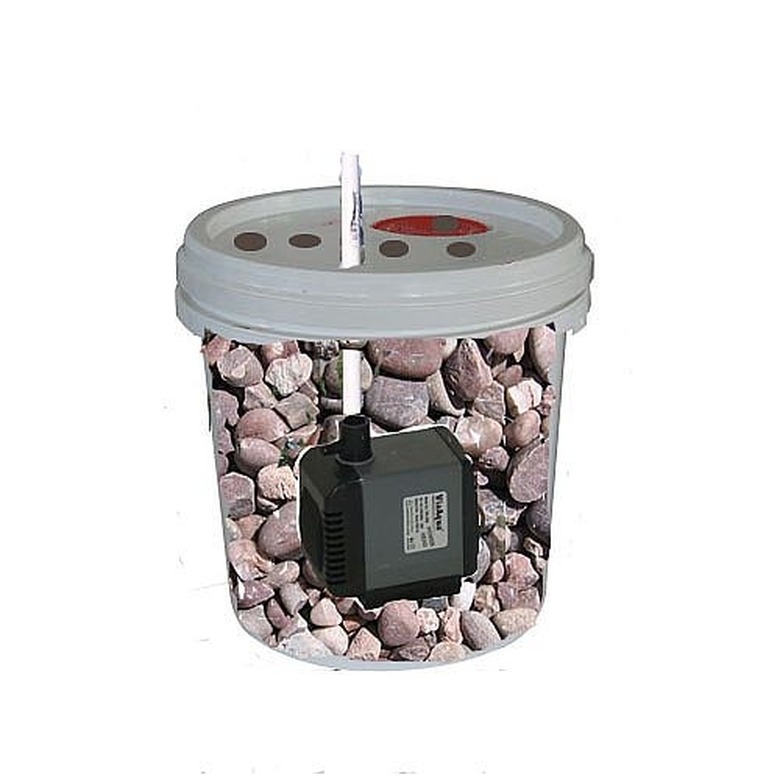
Build a pond filter around every pump rated more than 250gph ~Attach outlet tubing to the water outlet port on your pump ~Take a bucket that is larger than your pump and drill a few holes in it near the top. This is incase you have a reduction of water in your pond (if it is shallow) the pump will not go dry and burn out. ~fill the bucket a few inches with red lava rock that is larger in diameter than the water inlet holes in your pump ~Place your pump inside this bucket ~finish filling the bucket around the pump with more of the same lava rock you used before. ~Attach lid to your bucket (with a hole drilled in it to accommodate your pump outlet tubing. And additional holes drilled into it to allow water to enter. This is your completed pond filter
Step 4
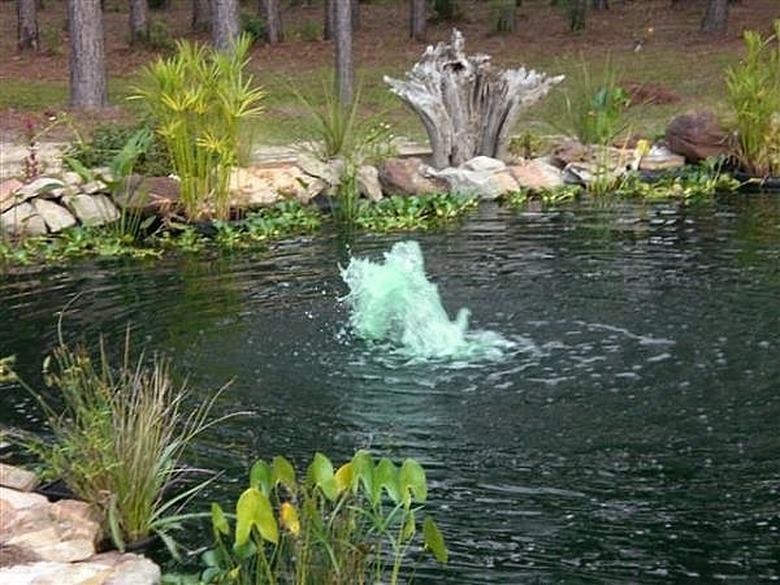
Style 1) A.Take a standard pond pump that is at least rated for the number of gallons in your pond. (the higher the better) B. Measure the depth of the pond C. Deduct the measurement for the height of your pond filter (see step2) D. Deduct 2-3 inches to allow for evaporation of water from your pond E. Cut a piece of rigid tubing to match the measurement you now have (I recommend PVC) F. Attach rigid tubing to your pond pump outlet tubing. G. Place into pond and turn pump on. You should have some water shooting up out of the surface of the water. This is a water bubbler style pond aerator
Step 5
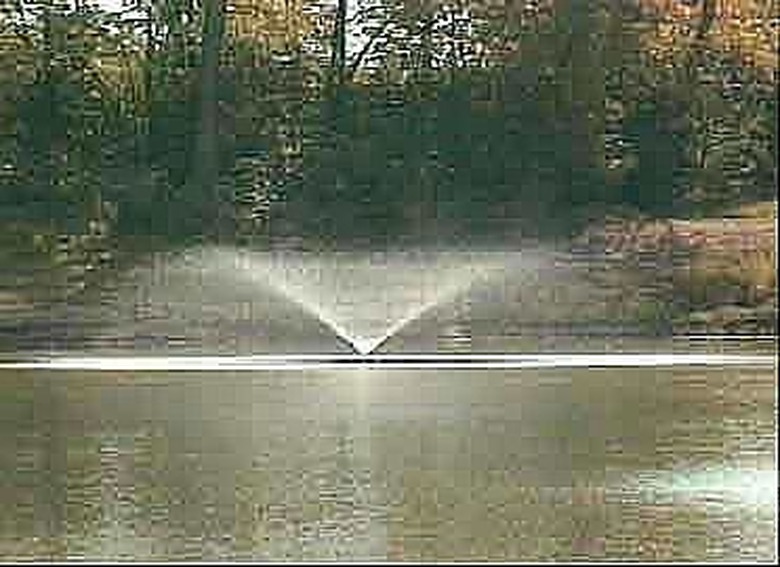
Style 2) A.Take a standard pond pump that is at least rated for the number of gallons in your pond. (the higher the better) B. Measure the depth of the pond C. Deduct the measurement for the height of your pond filter (see step2) D. ADD 2-3 inches to allow for evaporation of water from your pond E. Cut a piece of rigid tubing to match the measurement you now have (I recommend PVC) F. Attach rigid tubing to your pond pump outlet tubing. G. Attach a fountain head to your tubing H. Place into pond and turn pump on. You should have a nice 360 degree spray of droplets. The smaller droplets increases the surface area that is exposed to the air which increases dissolved oxygen.
Step 6
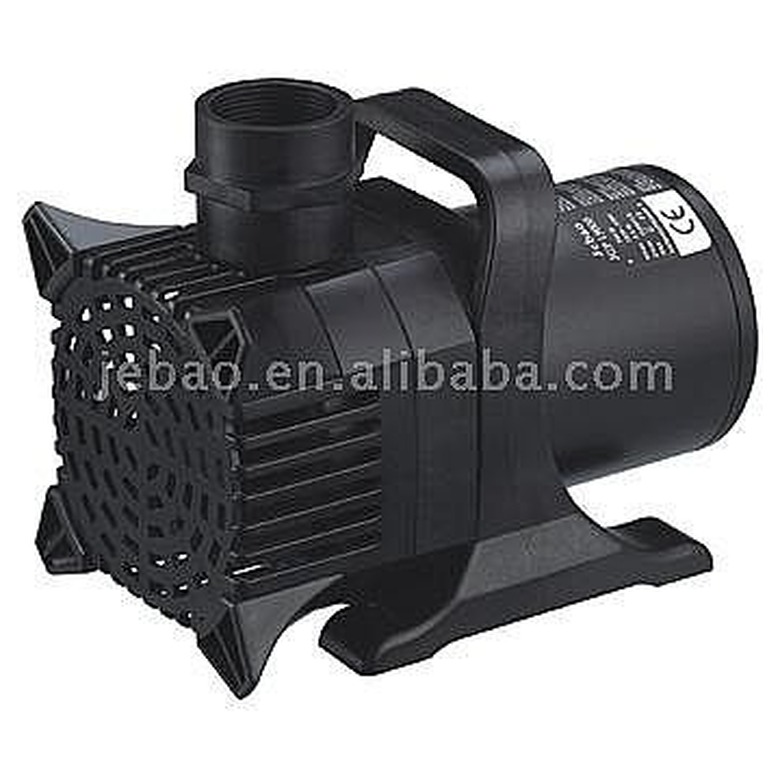
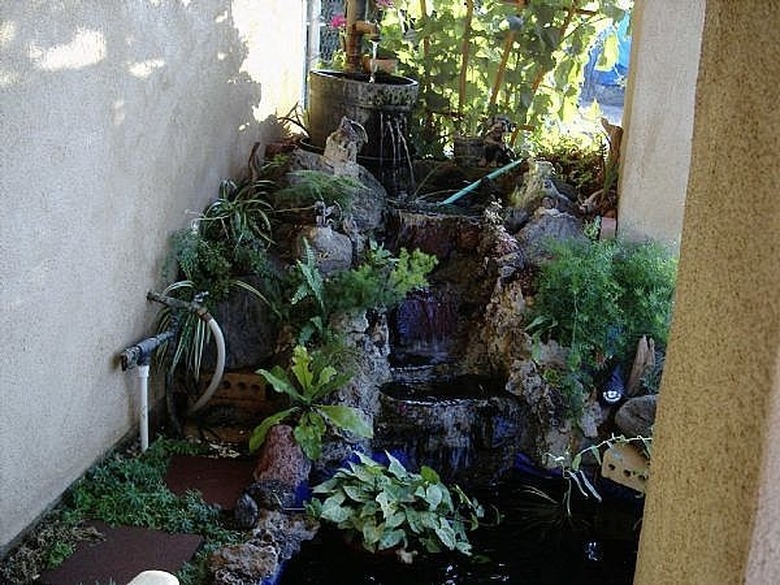
Style 3) Water feature AKA waterfall Pond pumps have different gph (gallons per hour) ratings. These ratings also vary with the distance the tubing has to travel as well as how high the pump must push the water before the outlet. Make sure your pump is rated for no less than your pond is in gallons, but preferably much closer to twice that amount at the height of the top of your water feature plus the length of the tubing. Use the pond filter you made above in step 3 or using a pressurized filter midway between the pond and water feature.
Step 7
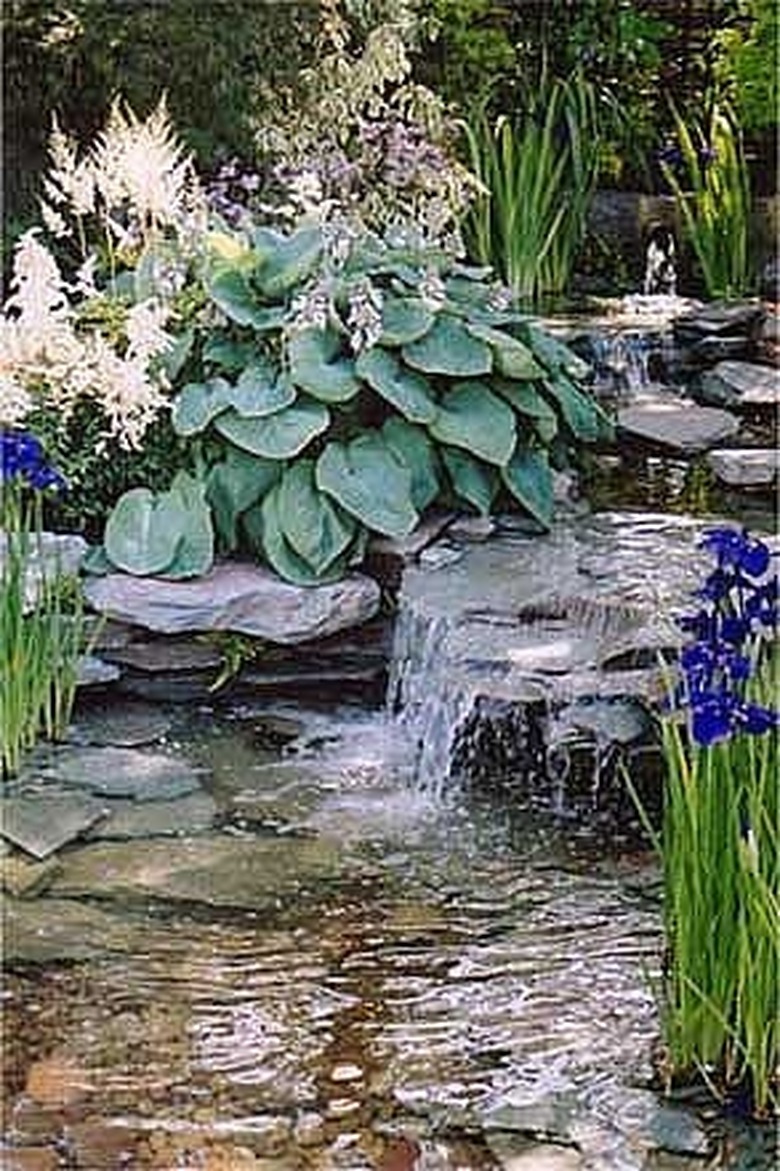
Setting up your waterfall. Determine the maximum height you want your waterfall to be keeping in mind the pond pump size you wish to use as explained in step 5.
hollow out your area that you will have the water flow, keeping in mind that you need to make the area deeper than you will use. This will help you accommodate for the height of the rock you will use to line your waterfall.
Run a test with the garden hose to insure that water does not spill outside the area you wish it to flow. (you will do this several times to insure the water does not change path with the shape of your rock.)
Start forming your rock at the bottom and work your way up
Consider it as ledges that the water will travel down.
The more turbulence you can create the more oxygen that it will carry.
Try to make the water "fall" over each ledge, The bottom ledge is the most important, the water should fall and splash over this ledge!
You may need a pond foam to attach the rock to your liner to insure that the water flows over the rock instead of under the rock.
Continue to stack your rock and ledges periodically until you reach the top of your waterfall.
You will want to make sure that the sides are built up enough at the top of your waterfall to insure that the water is going where you want it to.
Run several tests along the way to insure that the water is always running DOWN your waterfall and not down the sides of your waterfall.