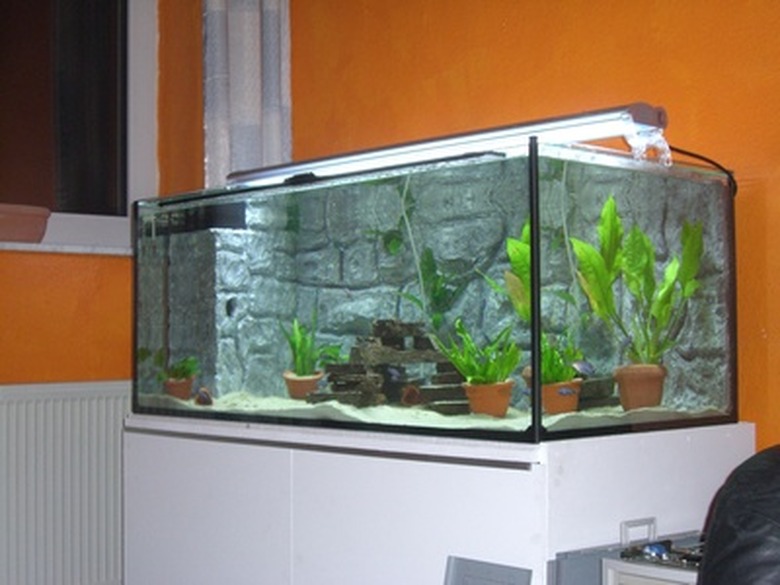
How To Remove An Aquarium Light Bulb
You may be surprised to know that a household aquarium's lighting is not purely decorative. The fluorescent lighting in a tank illuminates the aquarium for viewing purposes as well as helping to promote helpful algae blooms. Over time, the aquarium bulb may dim or need complete replacement. Changing this small track-style bulb is a simple task that all aquarium owners should learn. With appropriate instructions, anyone can change aquarium lighting.
Step 1
Turn the light off and unplug the power to your aquarium lighting. Choose a time of day when your lighting is normally not in use. Allow the bulb to cool for about 15 minutes.
Step 2
Open the top of the tank to access the light bulb. Many light bulbs are affixed to the aquarium lid, while some are in separate housings. Remove the top and flip it over to expose the light bulb.
Step 3
Grab the ends of the light bulb with both hands. Twist counterclockwise with both hands simultaneously to unhinge the bulb. Some bulbs are installed then covered with brackets on the ends for added security. This will be a small bracket screwed into place over the ends of the light bulb. If your model of aquarium has this feature, unscrew the brackets first using an appropriate screwdriver.
Step 4
Wiggle and pull the bulb out of its mount on the aquarium lid. Replace with the new bulb. Reinstall the brackets if necessary.
Warning
Never attempt to change a bulb with the power plugged in or the bulb turned on. This could result in electrocution or may cause burns on the skin.
Exercise appropriate caution when working with electrical apparatuses.